How to: Use OTR on Linux
Download location: Available through the built-in Software Center
Computer requirements: An internet connection, a computer running Linux, an XMPP (Jabber) account.
Versions used in this guide: Linux Mint 17; Pidgin 2.10.9, pidgin-otr 4.0.0-1
License: Free Software; mix of Free Software licenses
Level: Beginner
Time required: 20 minutes
NOTE: This guide is not being actively reviewed or updated, and is currently retired. If you would like to use Pidgin or another form of OTR messaging for Linux, please refer to those services’ websites and documentation for information on how to install and use them.
What is OTR?
OTR (Off-the-record ) is a protocol that allows people to have confidential conversations using the messaging tools they’re already familiar with. OTR provides this security by:

- encrypting your chats
- giving you a way to make sure that the person you are chatting with really is that person
- not allowing the server to log or otherwise access your conversations
This should not be confused with Google's “Off the record,” which merely disables chat logging, and does not have encryption or verification capabilities.
There are several ways to use OTR on Linux. In this guide, we'll walk you through how to use the OTR plugin for Pidgin. Pidgin is a popular instant messaging client that is available for many Linux distributions. It can be extended with extra abilities through plugins, which are usually installed separately.
The instant messaging client, Pidgin, automatically logs non-OTR conversations by default, however you do have the ability to disable this feature. That said, you do not have control over the person with whom you are chatting—she could be logging or taking screenshots of your conversation, even if you yourself have disabled logging.
Why should I use Pidgin + OTR?
When you have a chat conversation using Google Hangouts or Facebook chat on the Google or Facebook websites, that chat is encrypted using HTTPS , which means the content of your chat is protected from hackers and other third parties while it’s in transit. It is not, however, protected from Google or Facebook, which have the keys to your conversations and can hand them over to authorities.
After you have installed Pidgin, you can sign into it using multiple accounts at the same time. For example, you could use Google Hangouts, Facebook, and XMPP simultaneously. Pidgin also allows you to chat using these tools without OTR. Since OTR only works if both people are using it, this means that even if the other person does not have it installed, you can still chat with them using Pidgin.
Pidgin also allows you to do out-of-band verification to make sure that you’re talking to the person you think you’re talking to and you are not being subject to a MITM attack . For every conversation, there is an option that will show you the key fingerprints it has for you and the person with whom you are chatting. A "key fingerprint " is a string of characters like "342e 2309 bd20 0912 ff10 6c63 2192 1928,” that’s used to verify a longer public key. Exchange your fingerprints through another communications channel, such as Twitter DM or email, to ensure no one is interfering with your conversation.
Limitations: When should I not use Pidgin + OTR?
Technologists have a term to describe when a program or technology might be vulnerable to external attack: they say it has a large “attack surface.” Pidgin has a large attack surface. It is a complex program, that was not written with security as a top priority. It almost certainly has bugs, some of which might be used by governments or even big companies to break into computers that are using it. Using Pidgin to encrypt your conversations is a great defense against the kind of untargeted dragnet surveillance that is used to spy on everyone's Internet conversations, but if you think you will be personally targeted by a well-resourced attacker (like a nation-state), you should consider stronger precautions, such as PGP -encrypted email.
Getting and installing Pidgin and Pidgin OTR
While Pidgin and the OTR plugin work in a similar way on every Linux distribution, there are some differences. The biggest difference between distributions is how to find and install Pidgin and Pidgin OTR.
In the walkthrough below, we use Mint 17, which provides Pidgin by default and offers Pidgin OTR in its Mint Software Center. Both programs will almost certainly be available in your Linux distribution's own software repository: the Ubuntu Software Center for Ubuntu, PackageKit for Redhat or Fedora, the apt-get command for Debian and so on. The package for Pidgin itself is usually called “pidgin”; the package for the OTR plugin is usually called “pidgin-otr.”
Pidgin may also look slightly different from the screenshots below, based on which Linux windows manager you use.
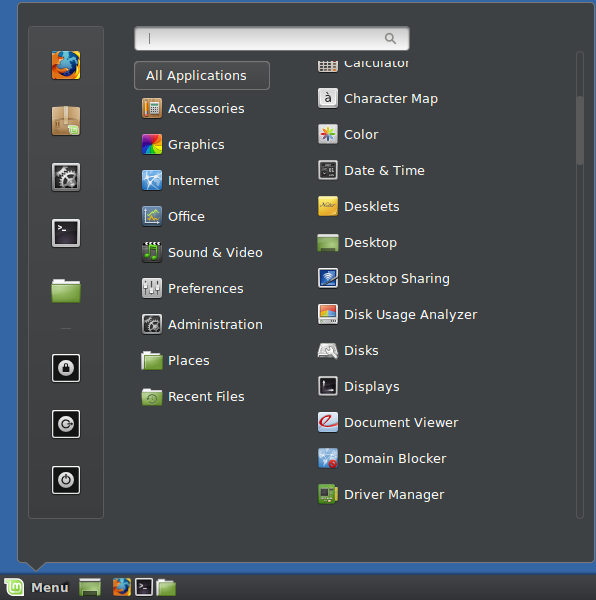
To install pidgin-otr on mint, Click the Mint menu and select the Mint Software Center icon.
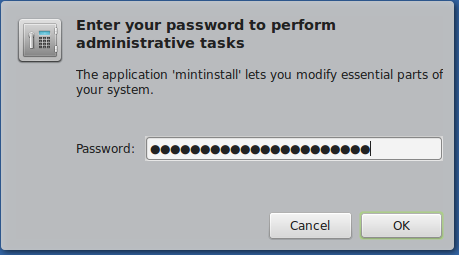
A window opens and asks for your password . Enter your password and click “OK.”
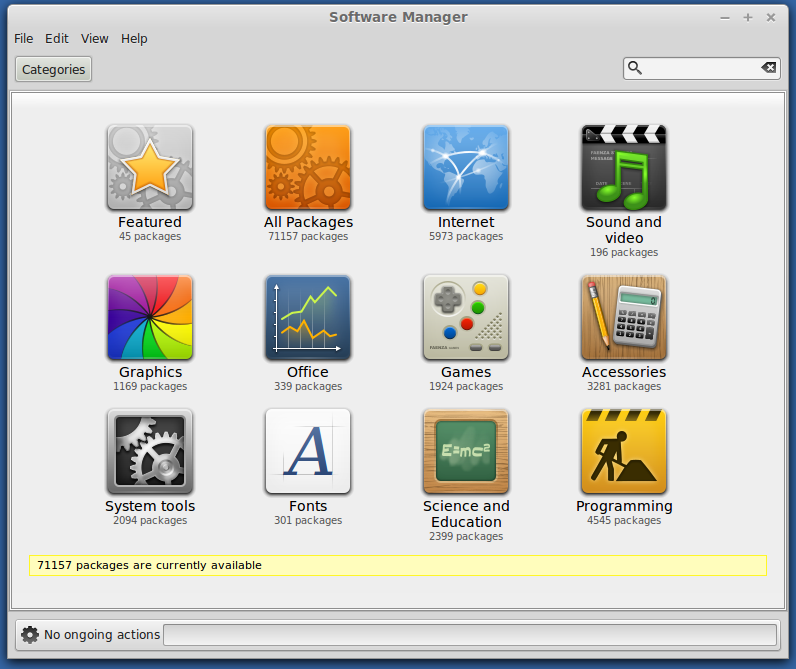
Now the main Software Center window opens up.
You will find pidgin-otr in the Software Center after you type “pidgin” in the search bar and click “Enter.”
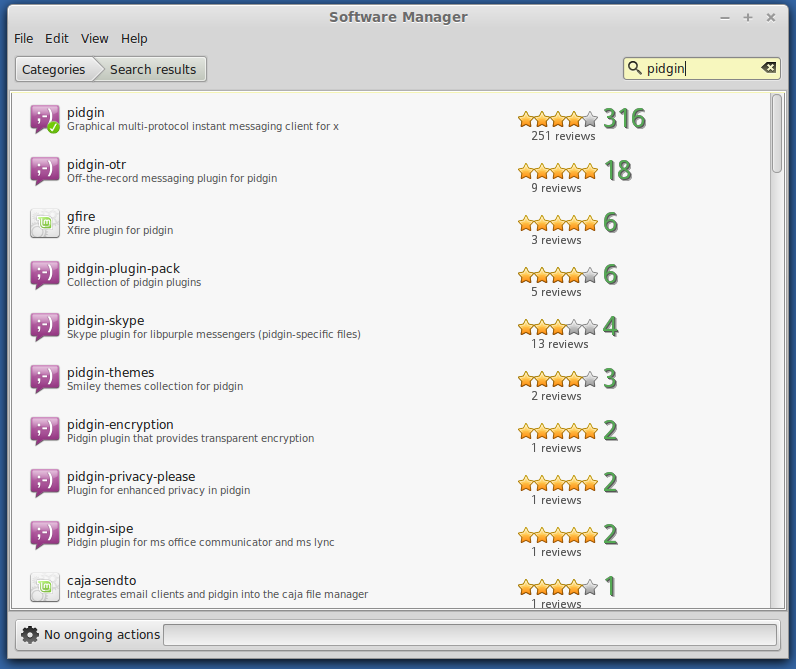
Double-click on the pidgin-otr entry to see more information about pidgin-otr.
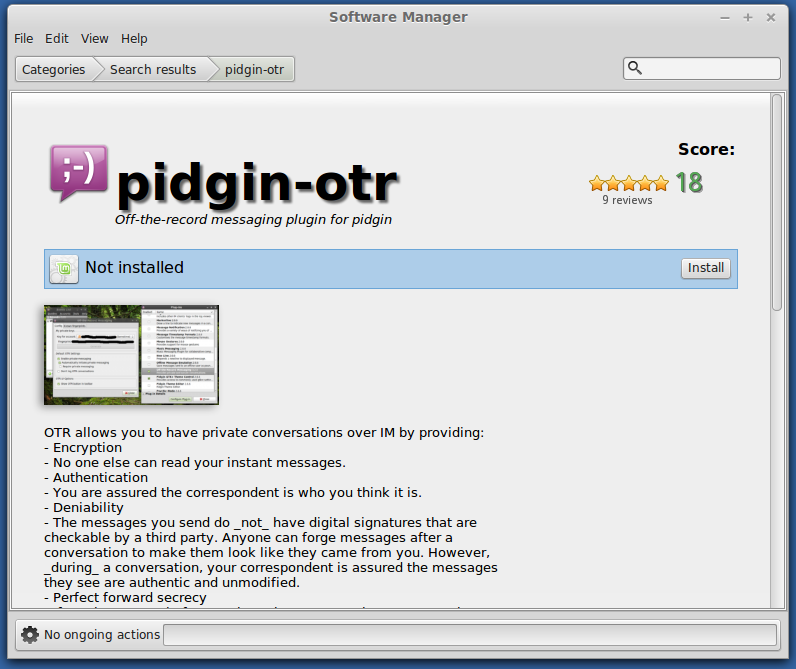
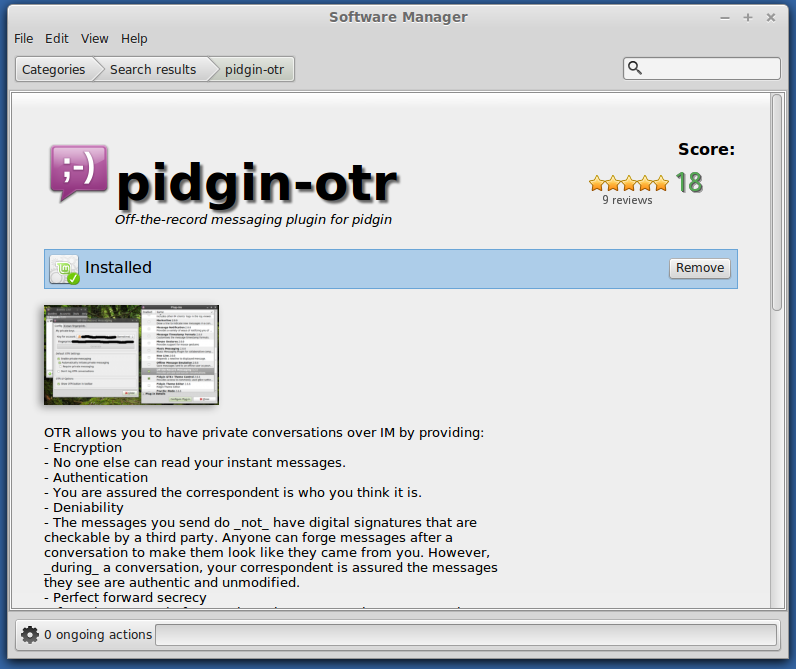
Click “Install." The Software Center will install pidgin-otr. As pidgin-otr is installing, you will see a loading bar on the bottom of the Software Center window. Once the installation is complete, the “Install” button will turn to a “Remove” button.
Configuring Pidgin
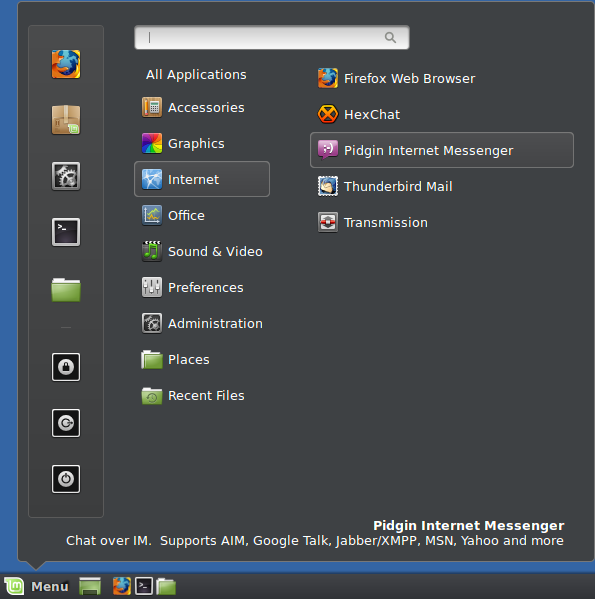
Click the Mint menu, hover over the “Internet” selection, and click “Pidgin Internet Messenger” from the menu.
Adding an account
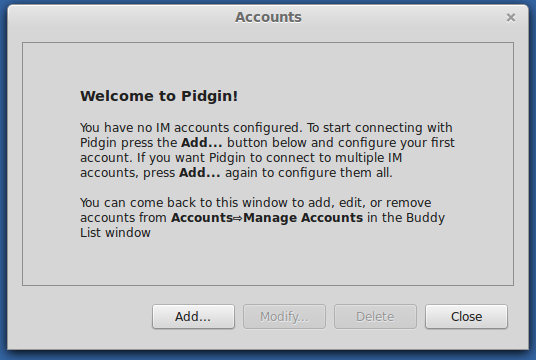
When Pidgin launches for the first time, you will see this welcome window giving you an option to add an account. Since you don't have an account configured yet, click the “Add” button.
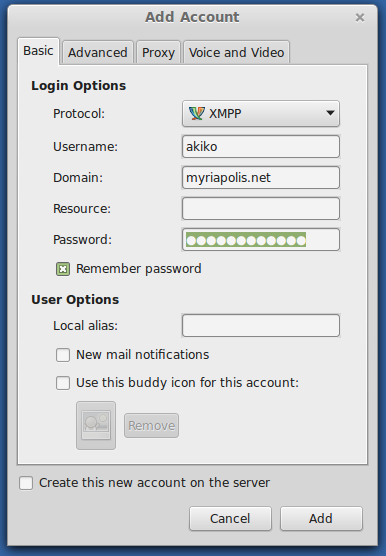
Now you'll see the “Add Account” window. Pidgin is able to work with many chat systems, but we'll focus on XMPP, formerly known as Jabber.
At the Protocol entry, select the “XMPP” option.
At the Username entry, enter your XMPP username.
At the Domain entry, enter the domain of your XMPP account.
At the Password entry, enter your XMPP password.
Checking the box by the “Remember password” entry will make accessing your account easier. Be aware that remembering the password will save your password on the computer, making it accessible to someone who has access to your computer. If this is a concern, do not check this box. You will then be required to enter your XMPP account password every time you start Pidgin.
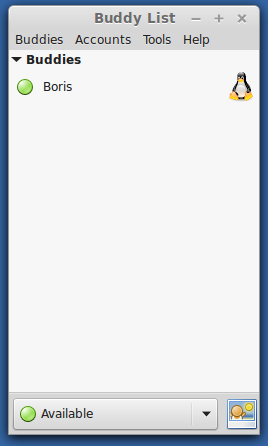
Adding a Buddy
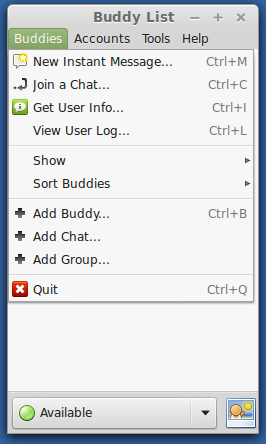
Now you will want to add someone to chat with. Click the “Buddies” menu and select “Add Buddy.” An “Add Buddy” window will open.
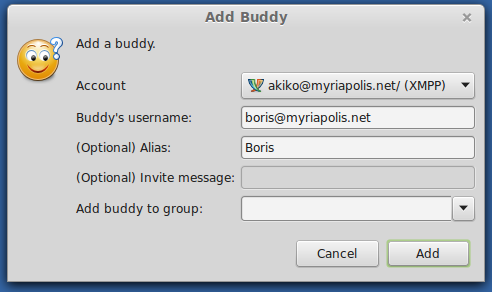
At the “Add Buddy" window you can enter the username of the person you want to chat with. This other user does not have to be from the same server, but does have to use the same protocol, such as XMPP.
At the “Buddy's username” entry, enter the username with the domain name . This will look like an email address.
At the “(Optional) Alias” entry, you can enter a name of your choice. This is entirely optional, but can help if the XMPP account of the person you are chatting with is hard to remember.
Click “Add."
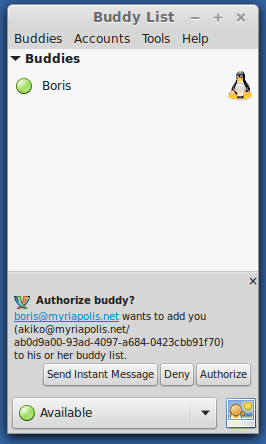
Once you've clicked “Add," Boris will get a message asking if he gives authorization for you to add him. Once Boris does, he adds your account and you will get the same request. Click “Authorize."
Configuring the OTR plugin
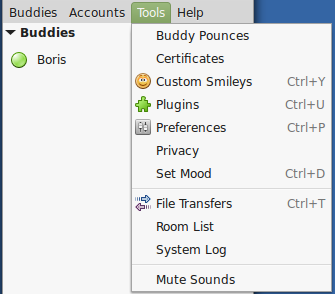
Now you will configure the OTR plugin so you can chat securely. Click the “Tools” menu and select the “Plugins” option.
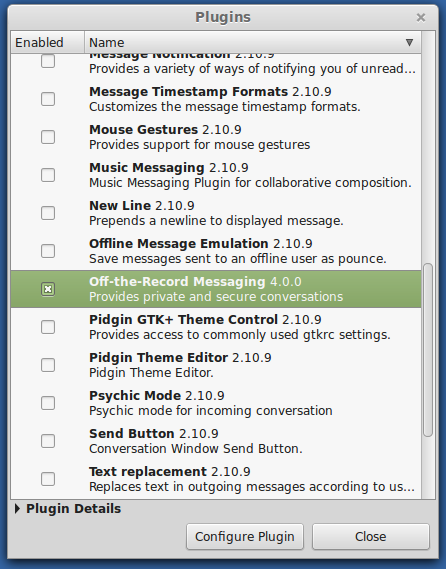
Scroll down until you get to the “Off-the-Record Messaging” option, and check the box. Now click on the “Off-the-Record Messaging” entry and click the “Configure Plugin” button.
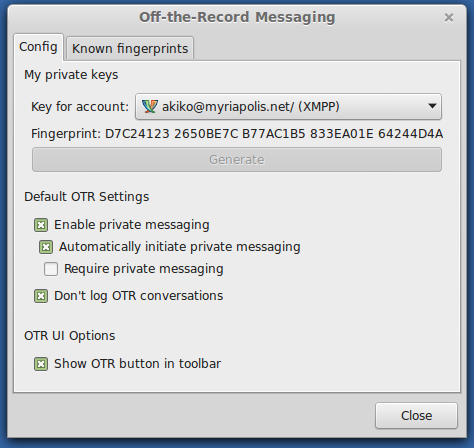
Now you will see the “Off-the-Record Messaging” configuration window. Notice that is says “No key present.” Click the “Generate” button.
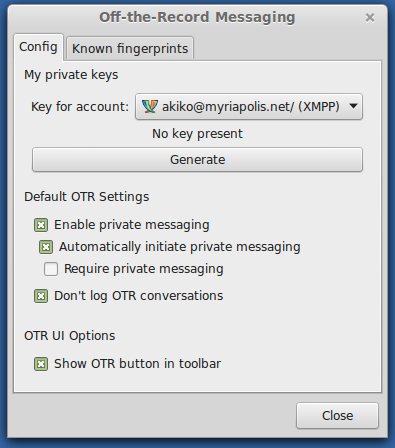
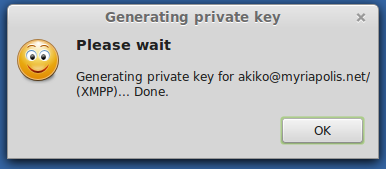
Now a small window will open and generate a key. When it is done, click “OK.”
Now you'll see new information: a 40-character string of text, broken up into 5 groups of eight characters. This is your OTR fingerprint . Write it down for your records. Click the “Close” button.
Now click the “Close” button on the Plugins window.
Chatting securely
You are now able to chat with Boris. The two of you can send messages back and forth. However, we're still not chatting securely. Even if you are connecting to XMPP server, it is possible that the connection between you and Boris is not secure from snooping. If you look at the chat window, notice that it says “Not private” in red on the bottom right. Click the “Not private” button.
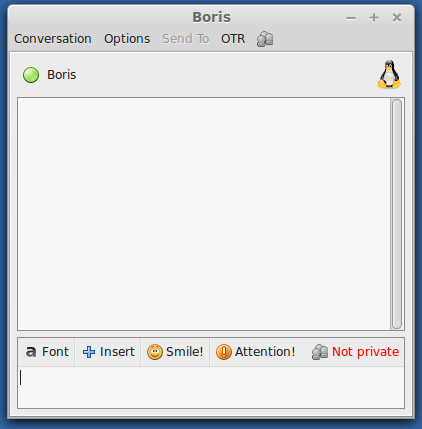
A menu will open up; select “Start private conversation.”
Note that button now says “Unverified” in yellow. While your conversation is now encrypted, it may be that an adversary has intercepted your conversation and is listening in (in what is called a “man-in-the-middle” attack). To ensure that your conversation is completely secure, you must verify that the person on the other end of the encrypted conversation is in fact your buddy. To do so, click the “Unverified” button.
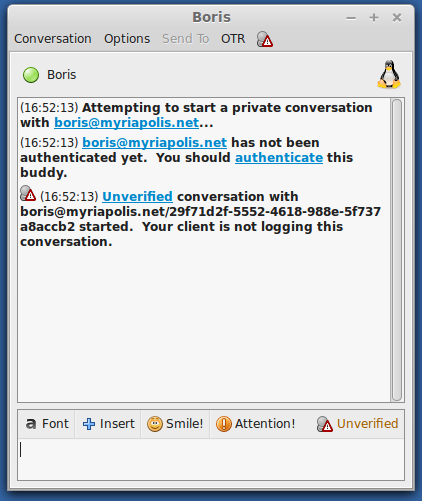
A menu will open up; select “Authenticate buddy.”

A window will open up. You are asked “How would you like to authenticate your buddy?”
The drop-down has three options:
Shared secret
A shared secret is a line of text you and the person you want to chat with have agreed to use ahead of time. When possible, share this line of text with each other in person; never exchange this information over insecure channels such as email or Skype.
You and your buddy need to enter this text together. Click “Authenticate."
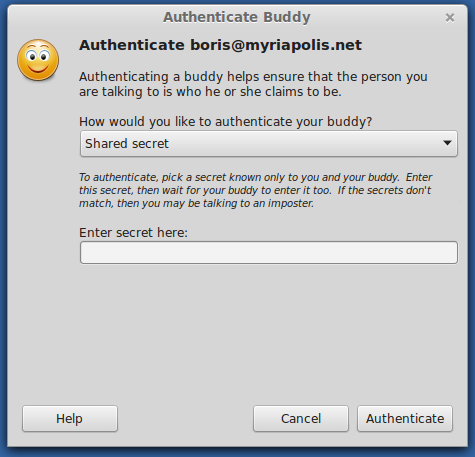
The shared secret verification is useful if you and your buddy already made arrangements to chat in the future but hadn’t yet created OTR fingerprints on the computer you are using.
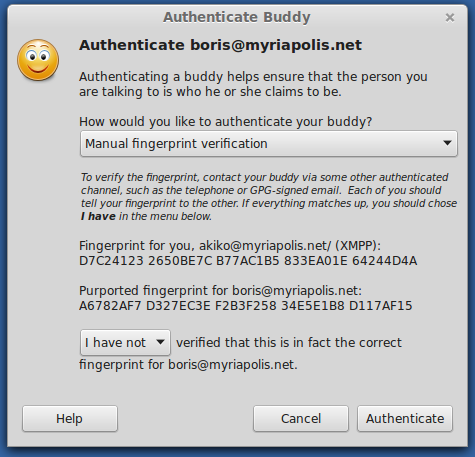
Manual fingerprint verification
Manual fingerprint verification is useful if you were already given your buddy's fingerprint and are now connecting with pidgin. This will not be useful if your buddy changed computers or had to create new fingerprints.
If the fingerprint you were given and the fingerprint on the screen match, select “I have” and click the “Authenticate” button.
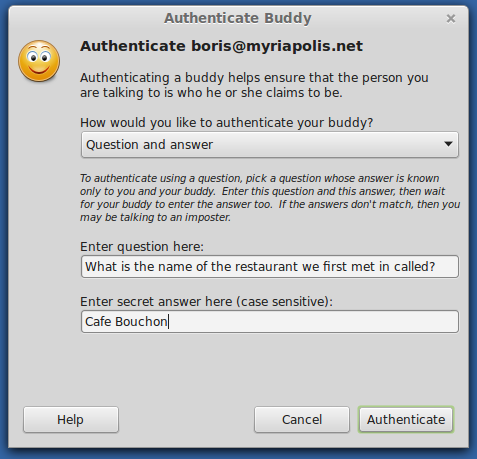
Question and answer
Question and answer verification is useful if you know your buddy but have not established a shared secret nor had a chance to share fingerprints. This method is useful to establish verification based on something both of you know, like a shared event or memory.
Enter the question you want to ask. Don't make it too simple that someone can guess it easily, but don't make it impossible. An example of a good question would be “Where did we go for dinner in Minneapolis?” An example of a bad question would be “Can you buy apples in Tokyo?”
Capitalization matters, so you might consider a note in parentheses like (for example: use capitals, lower case)
Enter the question and answer then click “Authenticate.".
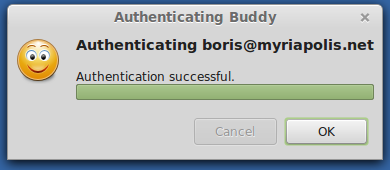
Your buddy will have a window open with the question displayed asking for the answer. He will click the “Authenticate” button himself and then receive a message letting him know authentication was successful.
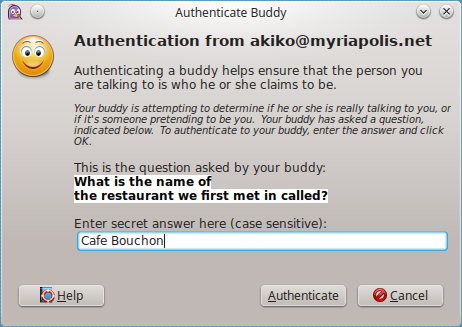
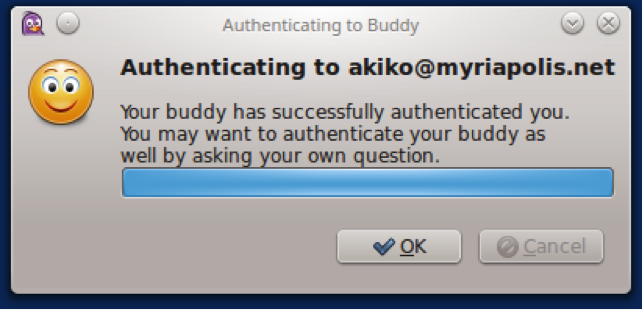
Once your buddy completes the authentication procedure, you will get a window letting you know the authentication succeeded.
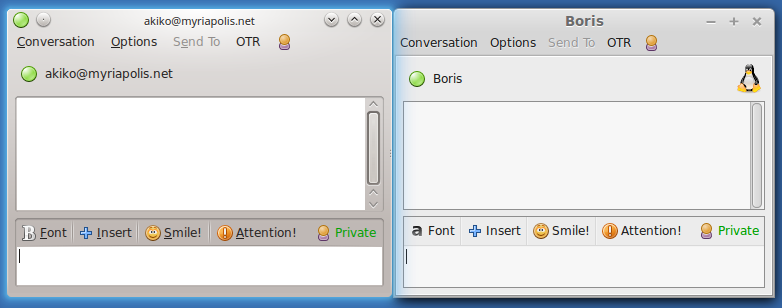
Your buddy should also verify your account so that both of you can be sure that the communication is secure. Here is what it would look like for Akiko and Boris. Notice the green “Private” icons in the lower right of the chat window.
Working with other software
The mechanisms to verify the authenticity should work between different chat software such as Jitsi, Pidgin, Adium, and Kopete. You are not required to use the same chat software to use chat over XMPP and OTR, but sometimes there are errors in the software. Adium, a chat software for OS X, has an error receiving the Question and Answer verification. If you find that verifying others is failing for you when you are using Question and Answer verification, check whether they are using Adium and see if you can use another verification method.