操作指南:如何安全地删除电脑中的数据
最后更新: May 08, 2025
安全删除只在机械硬盘稳定运行,但不适用于固态硬盘 (SSD),这类硬盘是现代计算机、USB 闪存盘以及 SD 卡的标准存储驱动器。如果你的电脑是在 2015 年之后购买的,更有可能是配置了 SSD。在 SSD、USB 闪存盘以及 SD 卡上实现安全删除非常困难!如果你正在使用 SSD 或 U 盘,保护其数据的最佳方式是加密驱动器。如果你好奇为何在 SSD 上实现安全删除如此困难,那么请继续阅读。如果你用的是机械硬盘,可以直接跳转到下方的说明部分。
在固态硬盘 (SSD)、USB 闪存盘以及 SD 卡上实现安全删除
尽管看似如此,当你将电脑上的一份文件移动到垃圾文件夹并清空回收站时,该文件其实并未被完全清除。电脑通常不会“删除”文件。当你将文件移到回收站时,你的电脑会隐藏该文件并允许它占用的空间被未来某个时刻存入的其他东西覆盖。这份文件可能在几周、几个月,或者甚至几年后才会被覆盖。直到它被覆盖之前,这份“已删除”文件仍然存在于你的硬盘上。它只是对于常规操作不可见。只需花一点功夫并使用合适的工具(例如“复原”软件或取证方法),就可以找回“已删除”文件。
那么,永久删除一份文件的最佳方法究竟是什么?确保它立即被覆盖。这样一来,之前在文件中写入的数据就很难找回。你的操作系统可能已经存在此种用途的软件,这种软件可以使用乱码覆盖磁盘上所有“空白”空间,从而保护已删除数据的机密性。
遗憾的是,考虑到 SSD、U 盘和 SD 卡的运行方式,安全地删除单个文件以及一些操作系统可能会为部分文件留出的空闲空间,即使并非全无可能,也是很难实现的。因此,最好的选择是使用加密。这么做之后,即使文件仍然保留在磁盘上,但任何得到文件的人只会看到看似乱码的数据,而且不能强行要求你解密文件。
SSD 和 U 盘使用的是一种被称为耗损均衡的技术。每个磁盘上的空间都被划分成区块,类似于书籍的页。当一份文件被写入磁盘,它将被分配到某个区块或某组区块中。如果你想覆盖该文件,那么你只需命令磁盘去覆写这些区块即可。但在 SSD 和 U 盘中,擦除和重新写入相同的区块会导致其损坏。每个区块只有有限的擦除和重写次数,超过限制次数后,区块将永久失效(如同用铅笔在纸上反复书写擦拭,最终纸张会破损报废)。
为了应对此问题,SSD 和 U 盘采用损耗平均的机制,力图确保所有区块被擦除和重写的次数基本相等,从而最大限度延长驱动器的使用寿命(即耗损均衡)。这种机制的副作用在于,当修改文件时,驱动器可能不会在文件原本存储的区块中进行擦除和写入,而是将该区块标记为无效,同时在另一个区块中写入修改后的文件。这就好像书籍修订时保留原始页面内容,另起一页写入修改后的内容,然后只需更新目录,指向新的页码。整个过程由磁盘内的电子器件在硬件层完成,操作系统甚至对此浑然不觉。
这意味着即使尝试覆盖文件,也无法保证驱动器真正执行覆盖操作,这正是固态硬盘安全删除如此困难的原因。不过,这并不代表文件可以永久访问。删除 SSD 的文件时,现代操作系统会发送“TRIM”指令,最终通过所谓“垃圾回收”过程清除数据。在某个时间点上,新的数据会写入该区块,原先存储的数据即被清除。该过程因操作系统和 SSD 而异。由于文件分散存储于不同的区块,以防耗损均衡,所以很难精确判定文件数据被清除的时间。
淘汰旧硬件时的安全删除
如需丢弃、转售或捐赠硬件,必须确保设备中储存的数据无法被他人恢复。在出售或回收利用搭载机械硬盘的电脑之前,务必先用乱码覆盖其储存媒介。即使不打算立刻丢弃硬件,更安全的做法也是将机器搁置在角落之前先擦除硬盘数据。Darik's Boot and Nuke 正是为此用途而设计的工具,网络上可以找到各种使用教程(包括这个)。
一些全盘加密软件具备销毁主密钥的能力,可使硬盘加密内容永久无法破解。由于密钥的数据量极小,销毁过程几乎瞬间完成,相比 Darik's Boot and Nuke 等覆盖软件(大容量硬盘尤为耗时),此方案效率显著提升。但该方案仅适用于始终处于加密状态的硬盘。如果未提前进行全盘加密,则需在处置前进行全盘覆盖操作。
如需转售或转赠搭载固态硬盘的旧电脑,最佳方案是先加密硬盘,再恢复出厂设置(Windows 和 Mac 操作指南)。部分固态硬盘制造商可能还提供“安全擦除”工具,可通过电脑的 BIOS(即基本输入输出系统,是存储于主板内存芯片中、负责处理开机引导等指令的软件。通常可在开机过程中通过键盘快捷键加载 BIOS)进行操作,作为清除数据的有效补充手段。
弃置 CD-ROM 或 DVD-ROM 光盘
CD-ROM 或 DVD-ROM 光盘的处置应采用与纸质文件相同的粉碎销毁方式。市面上有很多便宜的光盘粉碎机可用于彻底销毁光盘。切勿直接丢弃完整的 CD-ROM 或 DVD-ROM 光盘,除非完全确认无敏感数据。如果没有粉碎设备,也可以手动将光盘掰成碎片再丢弃;尽管专业取证工具仍能恢复碎片数据,但也远比直接整盘丢弃的做法安全。
如何使用 BleachBit 删除文件
对于搭载机械硬盘的 Windows 和 Linux 电脑,建议使用开源安全删除工具 BleachBit 执行文件删除操作。BleachBit 能够轻松快速地精准处理需要安全删除的单个文件,或者采取定期安全删除策略。用户也可以编写自定义文件删除规则。但它并非万能,正如前文所述,它只适用于删除机械硬盘储存的数据。
macOS 早已不再支持安全删除功能。因此,还是建议加密存储驱动器。
在 Windows 设备上安装 BleachBit
你可以从 BleachBit 的官方下载页面下载安装包,安装 Windows 版软件。点击 Windows 版选项,然后点击 BleachBit installer.exe 链接。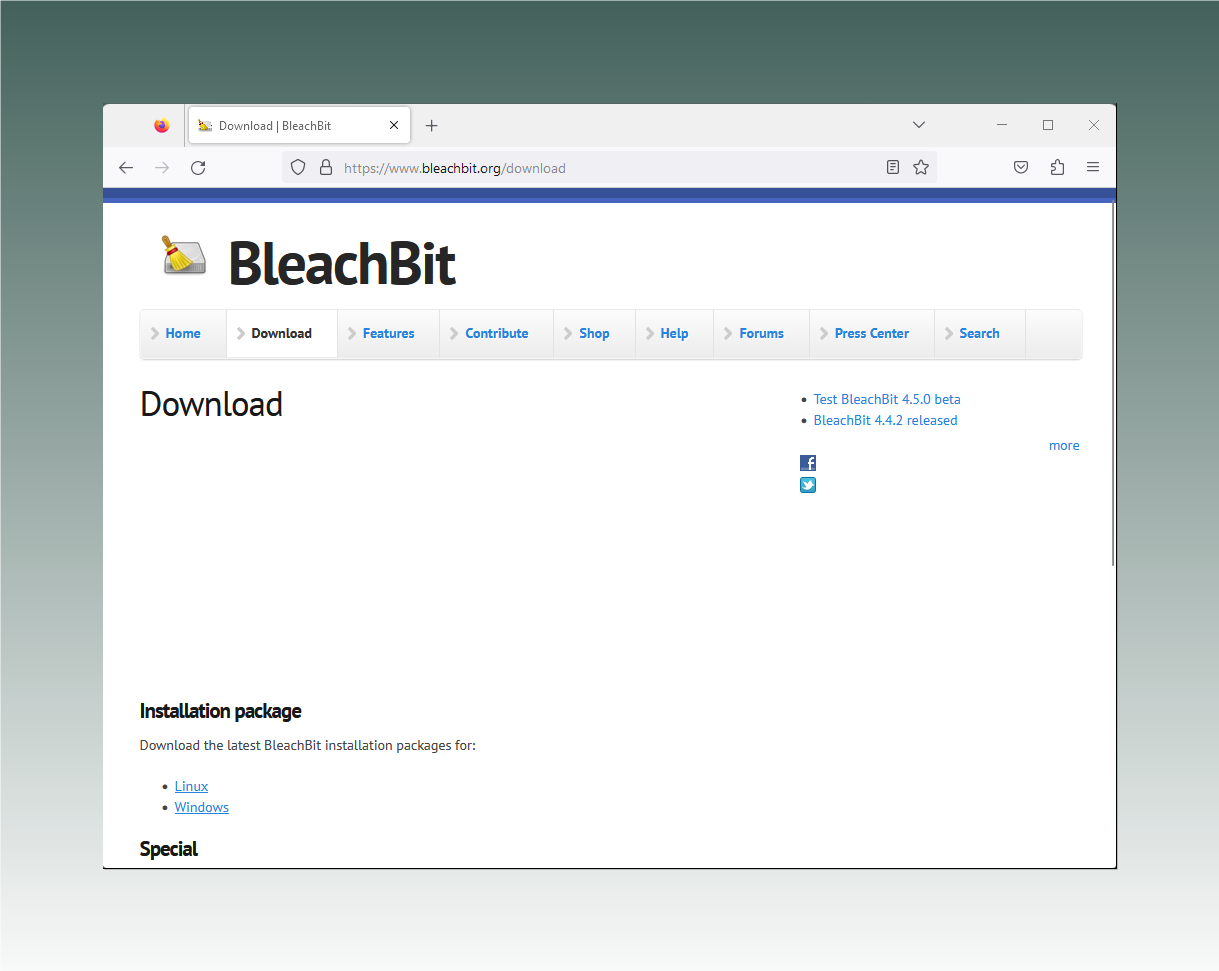
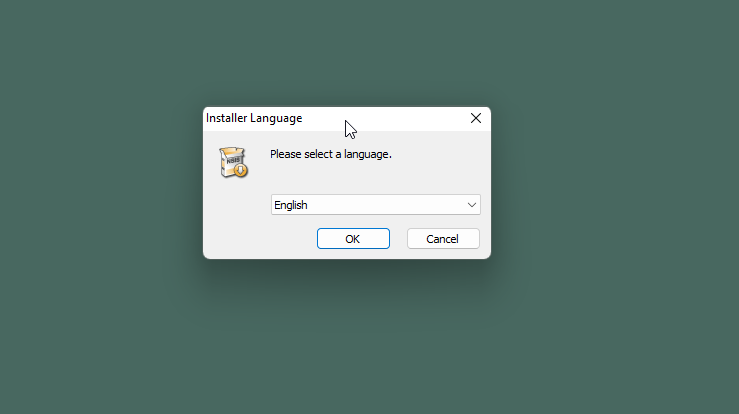
下载完成后,双击安装包文件(通常位于电脑“下载”文件夹),运行安装程序。在弹窗中选定安装语言。选择所需的语言,然后点击“OK”(确定)按钮。
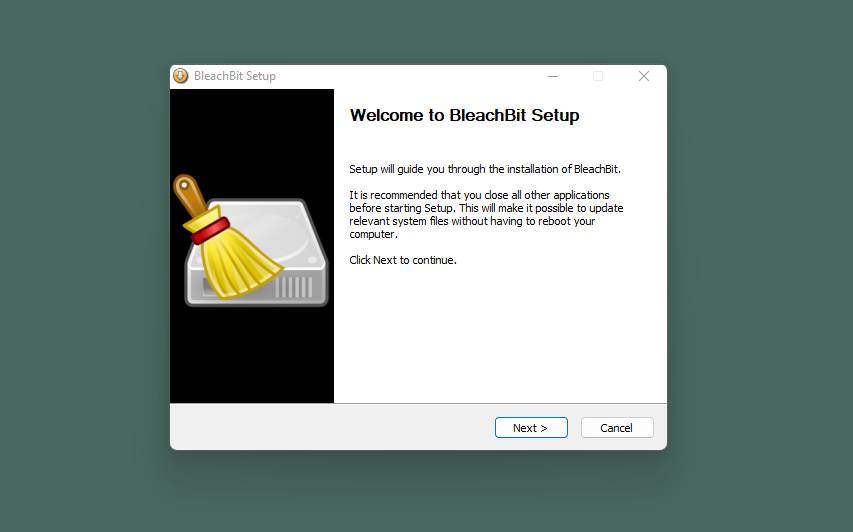
接下来将会显示欢迎页面。点击“Next”(下一步)继续操作。
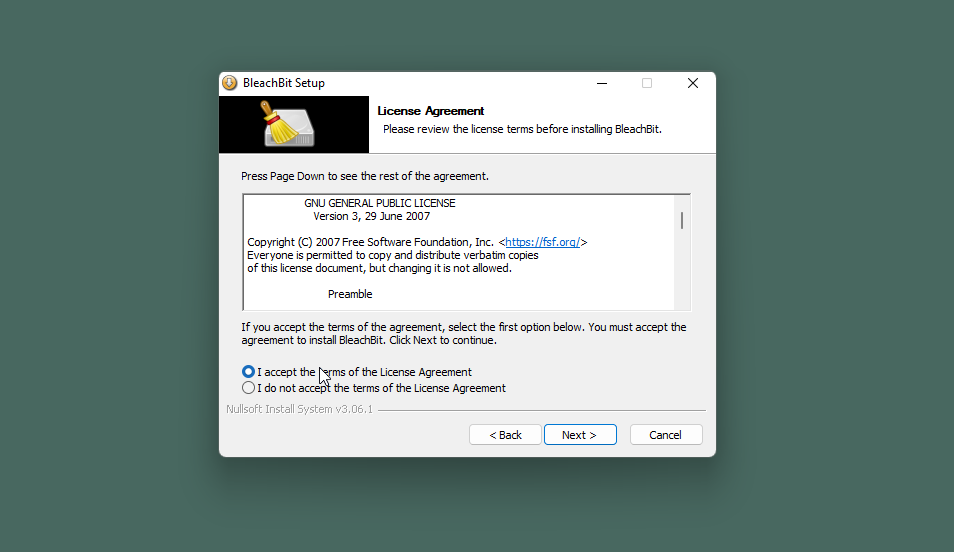
 下一个弹窗将显示 GNU 通用公共许可证。点击“I accept the terms of the License Agreement”(我接受许可证协议条款)选项,然后点击“Next”(下一步)。
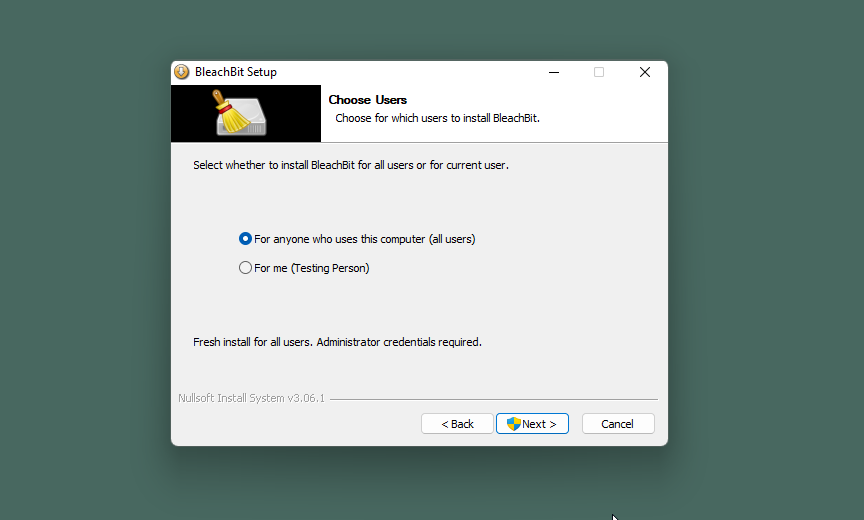
下一步系统会询问:BleachBit 是为所有用户安装,还是仅限当前用户?若非多人共用此计算机,则可以选择任意一个选项。
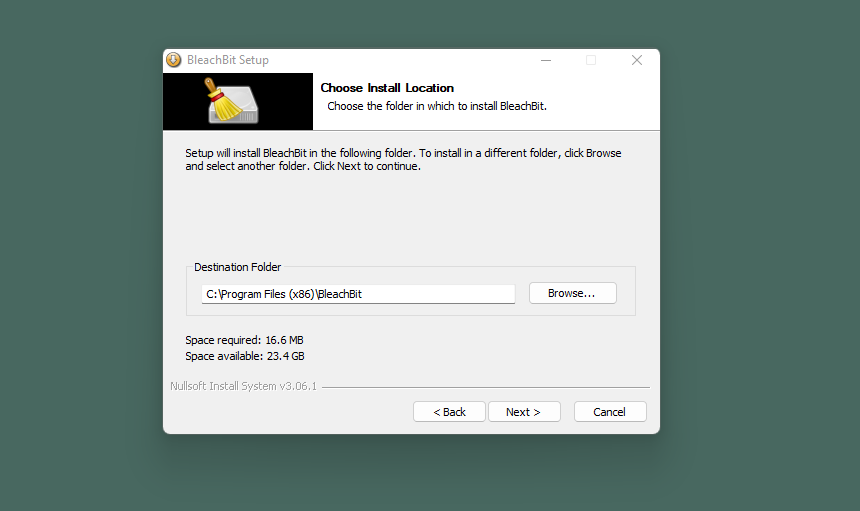
现在到了确认安装位置的步骤。大部分人可以选择安装在默认文件夹。或者可以点击“Browse”(浏览)更换文件夹,然后点击“Next”(下一步)。
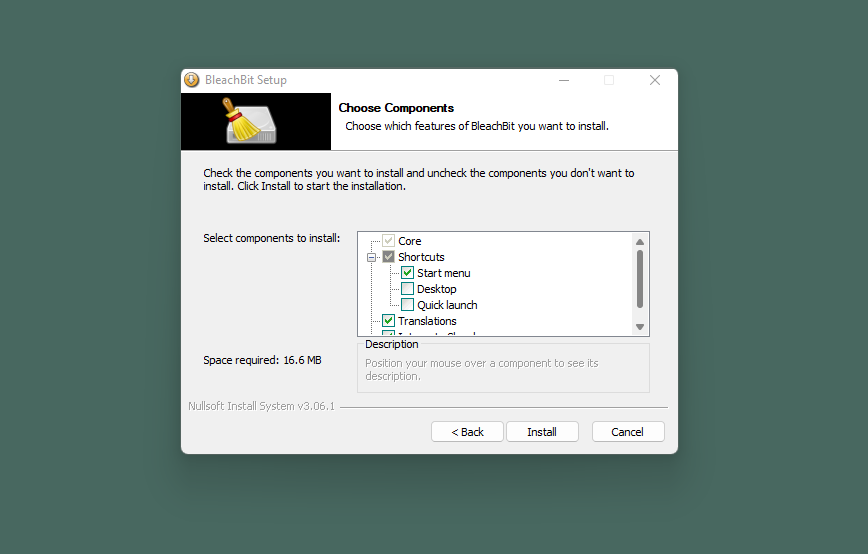
下一个窗口会显示一些自定义选项。用户可以保留默认选项,但我们建议取消勾选“Desktop”(桌面)选项,这样 BleachBit 就不会出现在电脑桌面上。点击“Install”(安装)按钮。
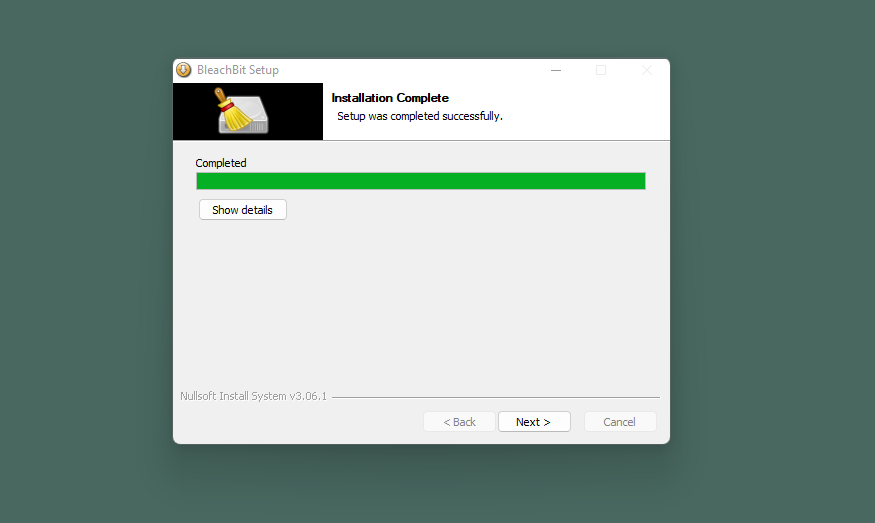
简短的安装过程结束后,BleachBit 安装程序会弹出安装完成的通知。点击“Next”(下一步)按钮。
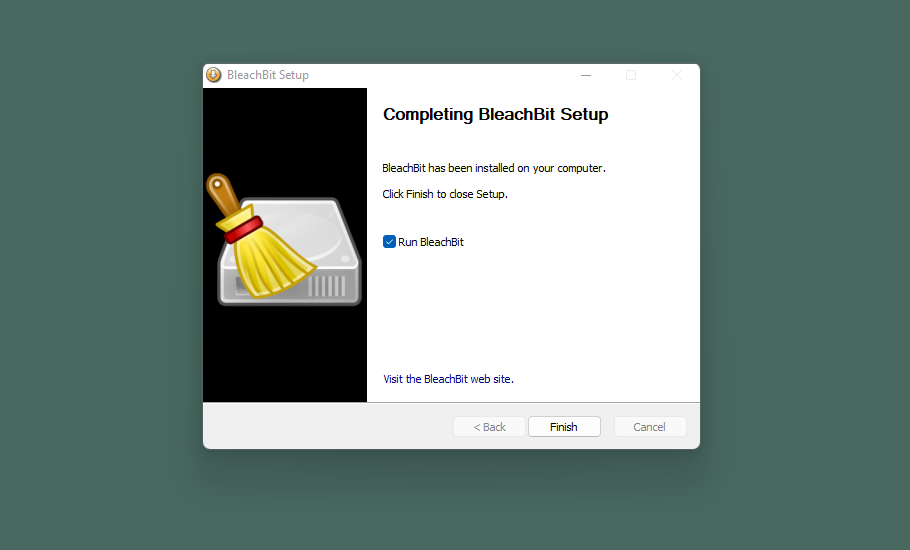
安装程序的最后一步会询问是否运行 BleachBit。如果不想立刻打开软件,可以取消勾选“Run BleachBit”(运行 BleachBit)选项,或者默认自动打开程序,然后点击“Finish”(结束)按钮。根据不同的 Windows 版本及其设置,第一次打开 BleachBit 软件时,可能会出现弹窗询问用户是否允许该应用程序更改设备。鉴于 BleachBit 是一个用于文件删除的程序,这项许可是确保软件正常运行的必要选项,所以点击“Yes”(是)按钮。
在 Linux 设备上安装 BleachBit
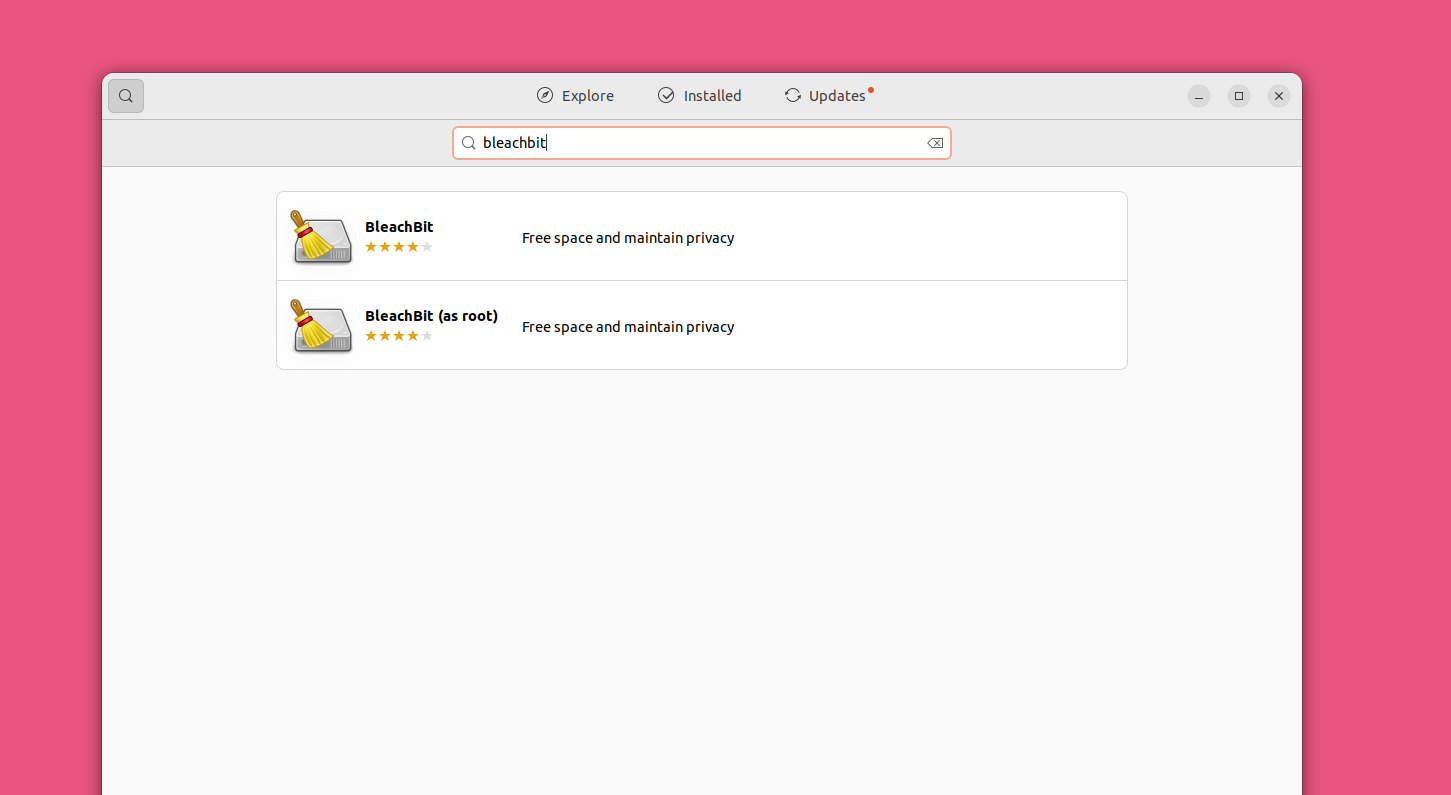
最简单的方式是通过 Linux 发行版本自带的软件应用安装 BleachBit(若偏好终端安装,请查阅 BleachBit官方文档获取指引)。我们以 Ubuntu 软件应用为例进行说明:打开应用,点击右上角的放大镜图标,然后输入“BleachBit”并按下回车键。屏幕将显示两个选项:BleachBit 和 BleachBit(以 root 身份)。点击“BleachBit”选项,然后点击“Install”(安装)。
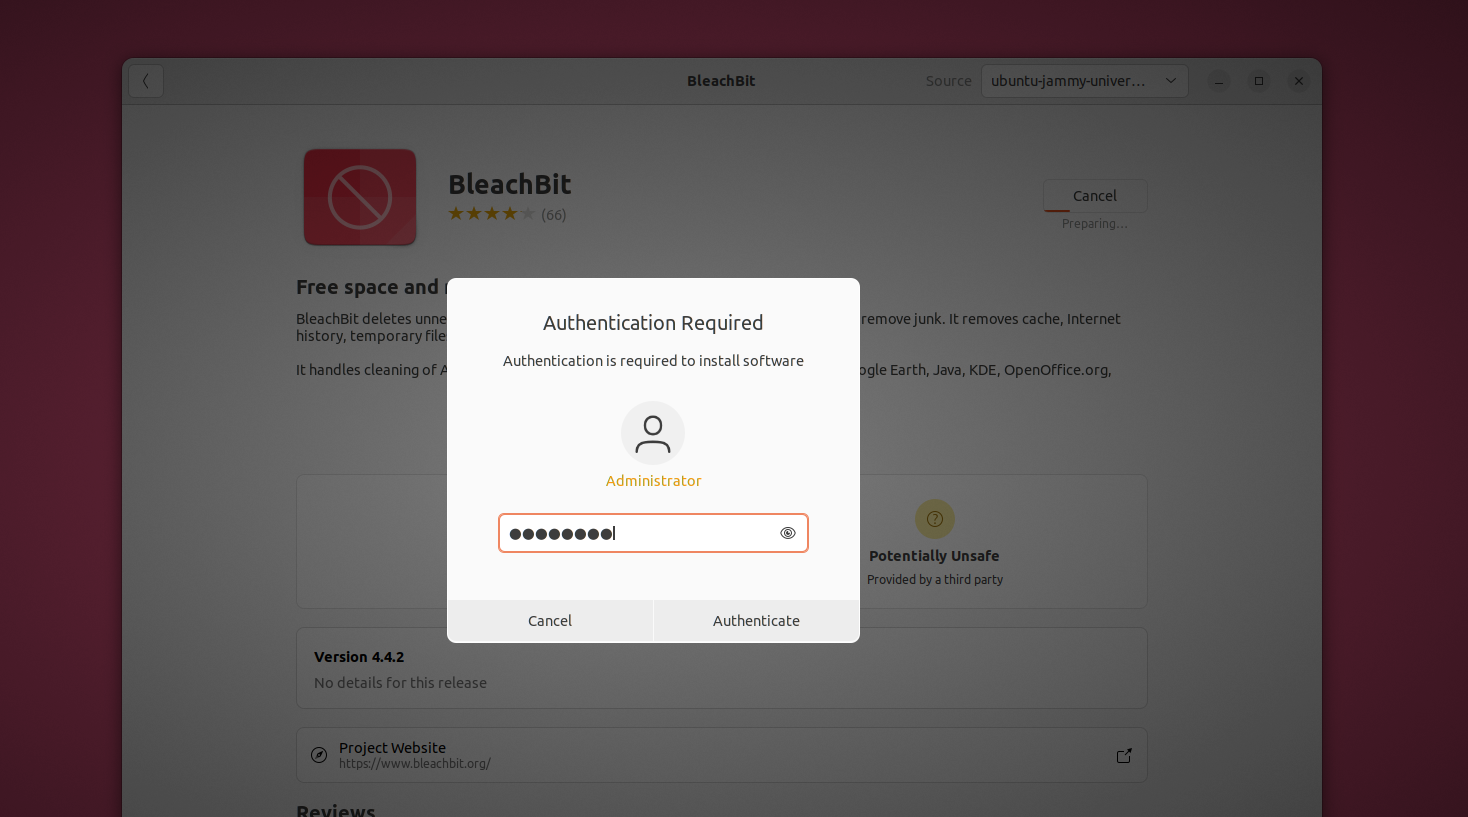
接下来 Ubuntu 将询问登录密码。输入密码并点击“Authenticate”(验证)启动安装程序。
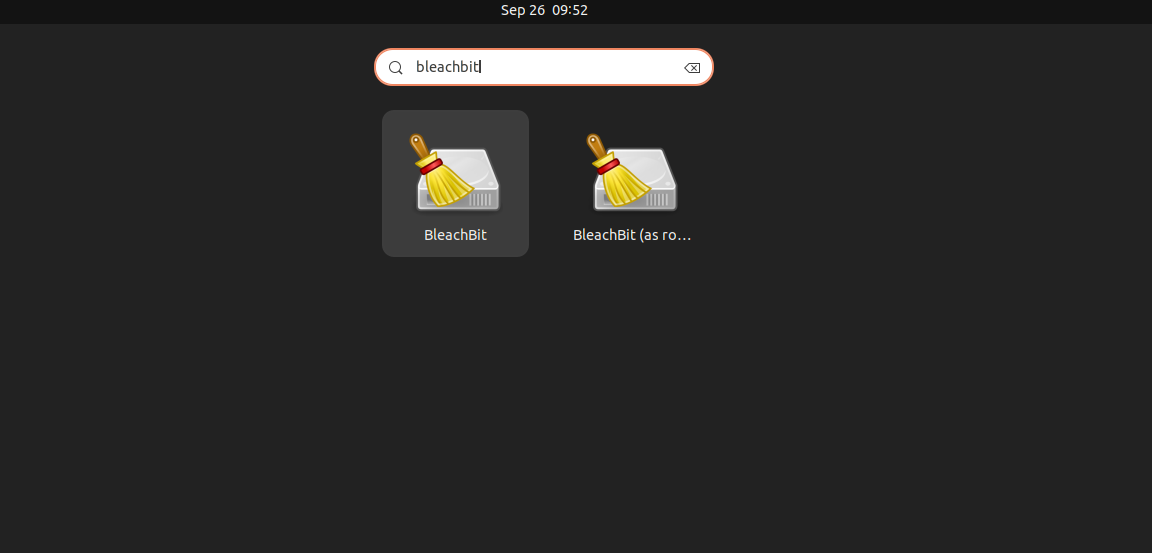
现在用户可以从左下角的应用菜单直接打开 BleachBit。也可以手动查找或搜索应用。
在 Linux 系统打开 BleachBit 后,将显示与 Windows 版本相同的界面。两者的主要区别在于,Windows 版本是通过点击左侧 BleachBit 图标打开菜单,而 Linux 版本则是点击右侧的三横线图标“汉堡”菜单。
使用 BleachBit
安装后,BleachBit 在 Linux 和 Windows 系统的运行方式完全相同,因此下文合并说明两个平台的操作指南。以下截图均基于 Windows 11 界面,仅在两者存在差异的罕见情况下特别标注 Linux 系统指引说明。
如何安全地删除文件夹或文件
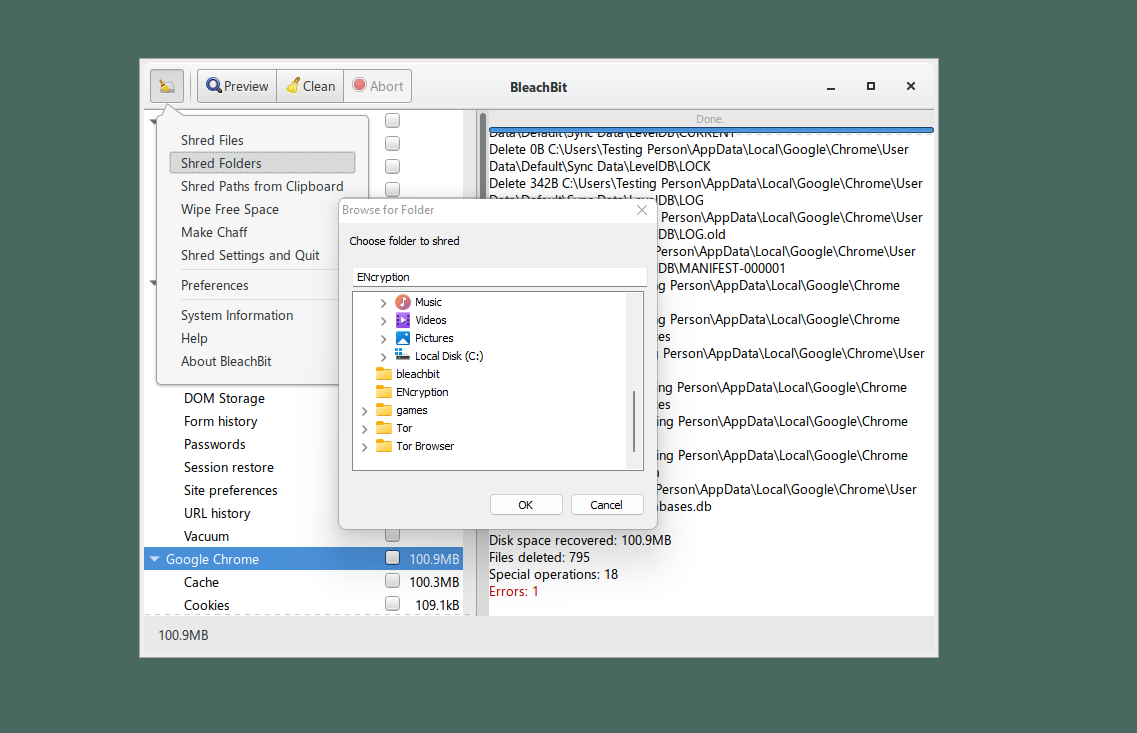
点击 BleachBit 图标(或 Linux 系统的三横线汉堡菜单图标),并根据实际需求选择“销毁文件”或“销毁文件夹”。

此时会出现弹窗,要求用户选择所需销毁的文件夹或文件。
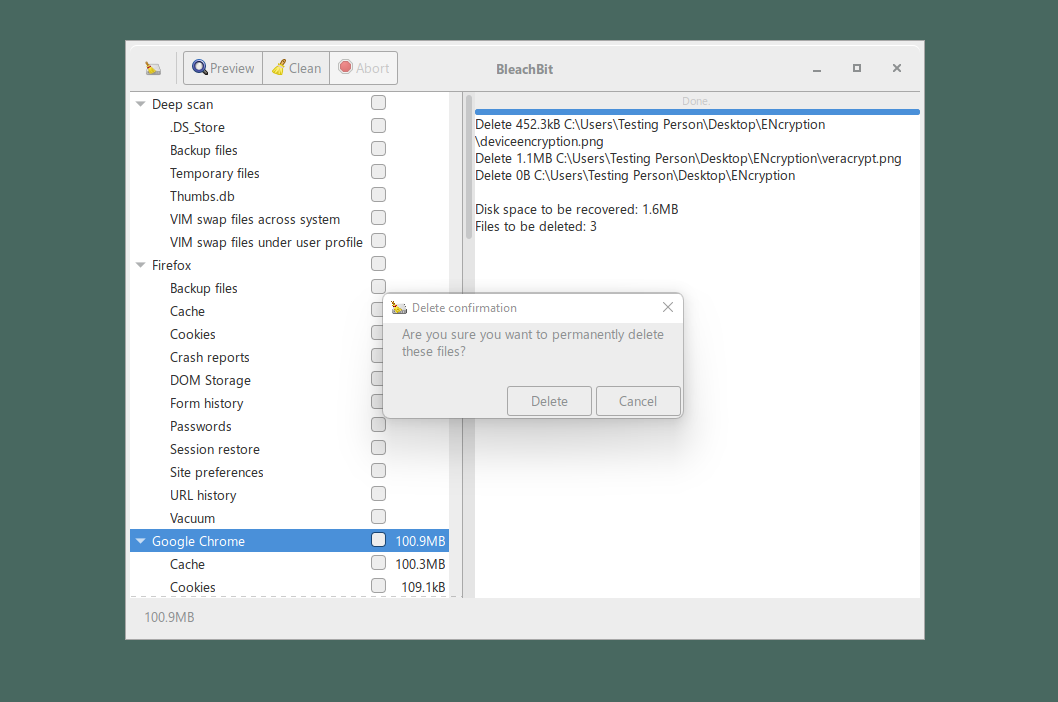
BleachBit 会让用户确认是否永久删除所选的文件。点击“Delete”(删除)按钮。
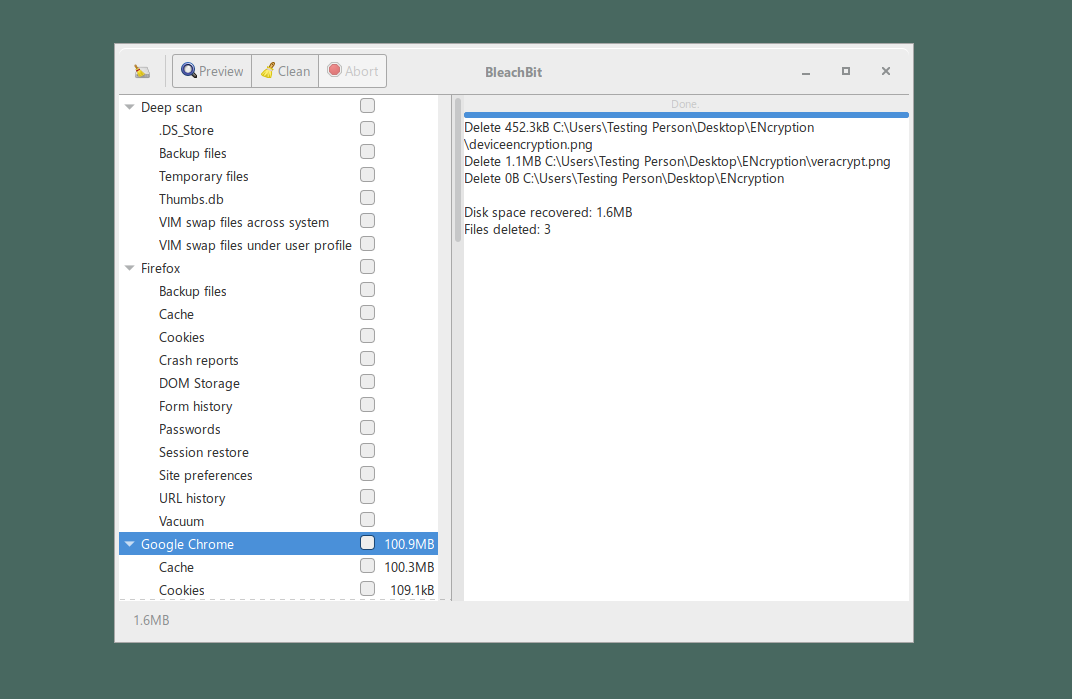
BleachBit 显示已删除的文件。删除文件夹时,BleachBit 会安全地删除文件夹中的每一个文件,再安全地删除整个文件夹。
使用预设功能
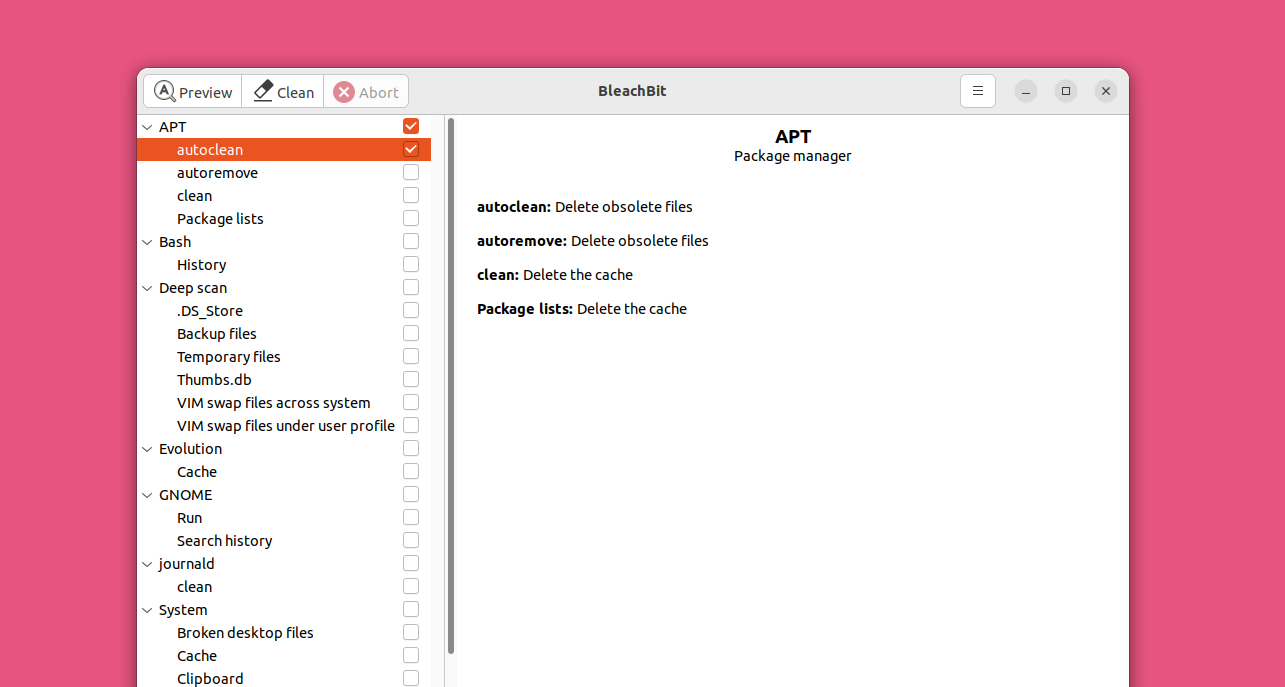
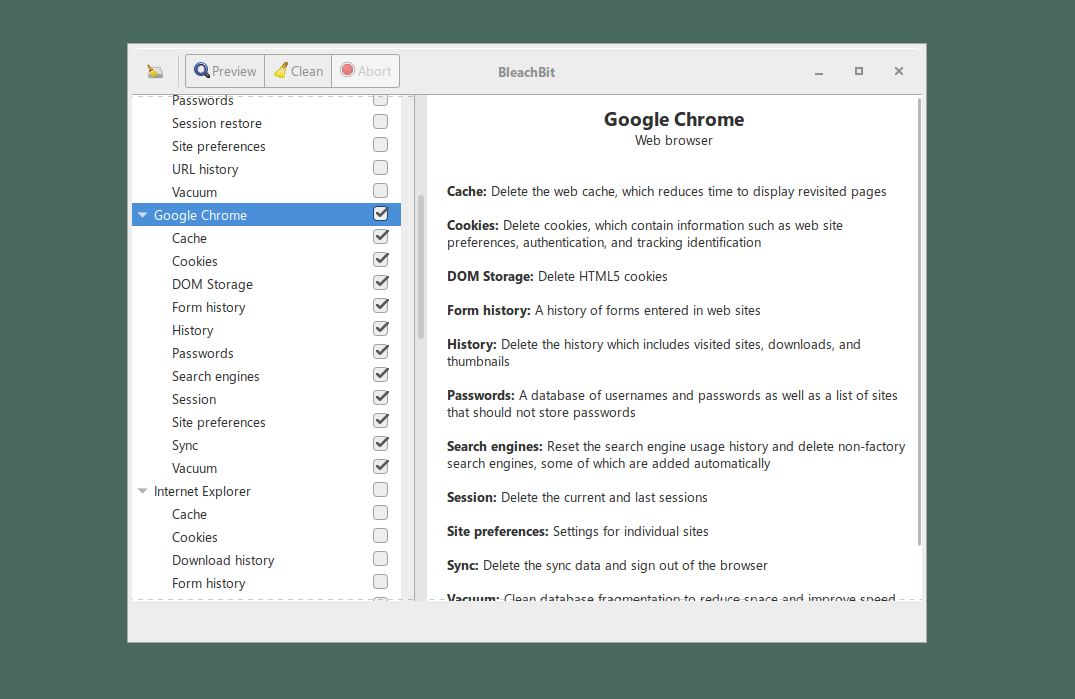
BleachBit 可以抹除特定应用或操作系统功能的使用痕迹。以 Google Chrome 浏览器为例,该工具能清除包括临时文件、浏览历史以及密码在内的一切关联数据。需要注意的是,在某些情况下(如 Chrome),它将删除程序本身之外的所有数据,因此请确保只在有明确需求时才使用此功能。在使用之前,请仔细阅读关于每项预设的详细说明,并点击“Preview”(预览)按钮详细查看 BleachBit 将删除哪些文件。对于不明功能的文件,例如一些系统设置,切勿将其销毁。
基于以上考虑,下文将以 Google Chrome 为例展示如何使用该功能。在 BleachBit 的主页面,下拉找到 Google Chrome 并点击旁边的复选框,勾选所有选项。页面右侧将显示更多详情。如有不想删除的部分,请取消勾选对应的方框。
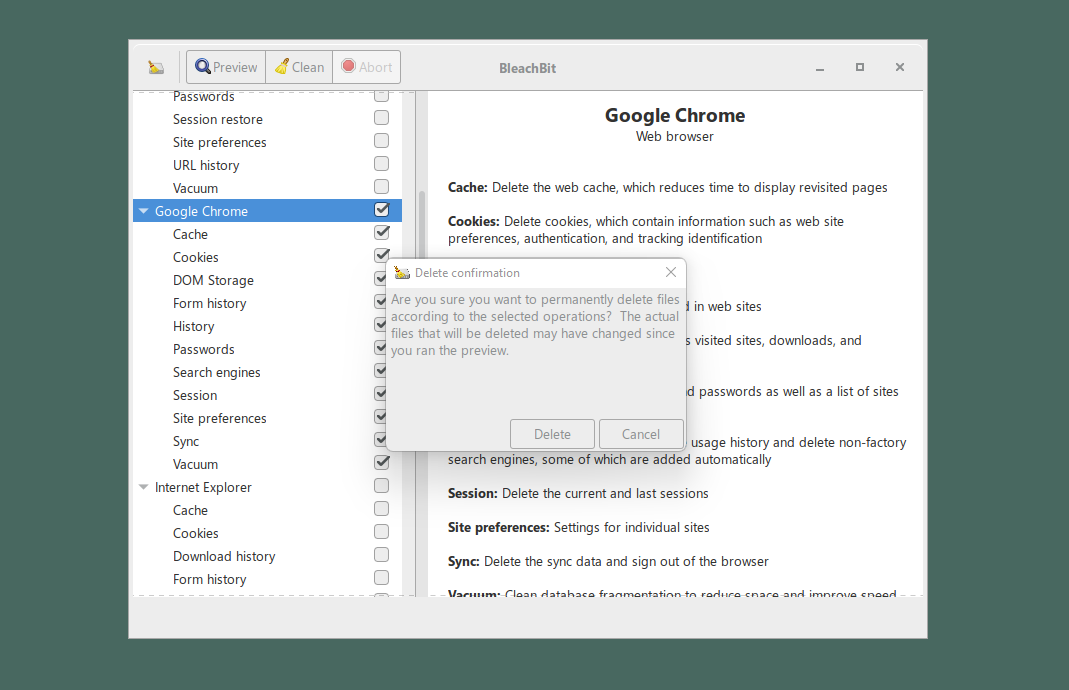
如果确认可以删除这些文件,请点击“Clean”(清除)。此时会有弹窗询问用户是否确认想要删除所有数据。如果已经下定决心,请点击“Delete”(删除)。
BleachBit 将逐一删除文件,并展示删除的过程。

BleachBit 还有其他值得关注的功能,其中包括“Wipe free space”(抹除空闲空间),此功能通过随机数据覆盖硬盘的闲置区域,从而彻底清除已删除文件残留的数据。此操作会对理论上的空闲区域执行随机数据覆写。其执行时长取决于驱动器剩余空间大小,容量越大耗时越长。有关功能的更多详细说明,请查看 BleachBit 的官方文档。
关于安全删除工具局限性的警示
上文建议的方案仅可删除你当前使用的电脑磁盘上的文件。上述任何一种工具都无法删除储存在其他磁盘或 U 盘、电子邮件服务器、云存储,或者已发送给联络人的备份数据。为了安全地删除文件,必须删除该文件在所有位置的全部副本。此外,一旦文件储存在云端(如 Dropbox 或其他文件共享服务商),通常就无法确保它能被永久删除。
遗憾的是,安全删除工具还有另一个局限之处。即便已执行上述的建议方案,也删除了文件的所有副本,已删除的文件仍有可能在电脑中残留部分痕迹,并非因为文件本身没有被正确删除,而是因为操作系统或其他程序可能保留了这些数据的记录。
以 Microsoft Office 为例,在“最近使用的文档”菜单中可能保留了已删除文件的名称记录(Office 甚至还可能保留了含有已删除文件内容的临时文件)。又或者,即使文件已被安全删除,用户的 Shell 历史记录文件仍有可能包含带有该文件名称的操作命令。实际上,很多程序可能都会有类似操作。
该问题尚未有妥善的应对方案。可以确定的是,即便文件已被安全删除,其名称仍可能在电脑中继续存在一段时间。覆写整个磁盘是 100% 确保文件名称被彻底删除的唯一方法。磁盘搜索可检测数据是否以明文形态存在,但无法识别程序是否以压缩或者编码的形式引用该数据。还需要注意的是,搜索本身也不会留下记录!文件内容残留的可能性很低,但也不是完全没可能。
唯一能 100% 确保文件记录被彻底清除的方法是:覆写整个磁盘并重新安装操作系统。