How to: Delete Your Computer's Data Securely
Last Reviewed: May 08, 2025
Secure deletion only works reliably with spinning disk drives and not solid-state drives (SSDs), which are standard storage drives in modern computers, USB thumb drives, and SD cards. If you purchased your computer after 2015 or so, it more than likely has an SSD. Secure deletion on SSDs, USB flash drives, and SD cards is very hard! If you’re using an SSD or a USB flash drive, encrypting the drive is the best way to protect its data . If you’re curious about why secure deletion on SSDs is difficult, continue reading. If you have a spinning disk drive, jump to our instructions below.

Secure Deletion on Solid-state Disks (SSDs), USB Flash Drives, and SD Cards
Despite what it seems, when you move a file on your computer into your computer's trash folder and empty the trash, the file is not completely erased. Computers normally don't “delete” files. When you move a file to the trash, your computer makes the file invisible and allows the space it took up to be overwritten by something else sometime in the future. It may be weeks, months, or even years before that file is overwritten. Until this happens, that “deleted” file is still on your disk. It’s just invisible to normal operations. With a little work and the right tools (such as “undelete” software or forensic methods), someone could retrieve “deleted” files.
So, what’s the best way to delete a file forever? Ensure it gets overwritten immediately. This makes it difficult to retrieve what was written there before. Your operating system probably already has software that can do this for you—software that can overwrite all the “empty” space on your disk with gibberish and thereby protect the confidentiality of deleted data.
Unfortunately, due to the way SSDs, USB flash drives, and SD cards work, it is difficult, if not impossible, to securely delete both individual files and free space where some operating systems may leave parts of files. As a result, your best bet is to use encryption. That way, even if the file is still on the disk, it will look like gibberish to anyone who gets ahold of it and can’t force you to decrypt it.
SSDs and USB flash drives use a technique called wear leveling. The space on every disk is divided into blocks, kind of like the pages in a book. When a file gets written to disk, it’s assigned to a certain block or set of blocks (pages). If you want to overwrite the file, then all you have to do is tell the disk to overwrite those blocks. But in SSDs and USB drives, erasing and re-writing the same block can wear it out. Each block can only be erased and rewritten a limited number of times before that block just won’t work anymore (the same way if you keep writing and erasing with a pencil and paper, eventually the paper might rip and be useless).
To counteract this, SSDs and USB drives try to make sure that the amount of times each block has been erased and rewritten is about the same, so that the drive will last as long as possible (thus the term wear leveling ). As a side effect, sometimes instead of erasing and writing the block a file was originally stored on, the drive will instead leave that block alone, mark it as invalid, and then write the modified file to a different block. This is kind of like leaving the page in the book unchanged, writing the modified file on a different page, and then just updating the book’s table of contents to point to the new page. All of this occurs at a low level in the electronics of the disk, so the operating system doesn’t even realize it happened.
This means that even if you try to overwrite a file, there’s no guarantee the drive will actually overwrite it, and that’s why secure deletion with SSDs is so much harder. However, it's not as if the file stays accessible for eternity. When you delete a file on an SSD, a modern operating system sends a "TRIM" command, and then eventually removes the data in a process known as "garbage collection." At some point you'll write new data over that block and the data stored there will be gone. This process varies by operating system and SSD. Since files are scattered across blocks to prevent wear leveling, it's difficult to know exactly when a file is gone.
Secure Deletion When Discarding Old Hardware
If you want to throw a piece of hardware away, sell it, or donate it, you want to make sure no one can retrieve your data from it. Before selling or recycling a computer with a spinning disk hard drive, be sure to overwrite its storage media with gibberish first. Even if you're not getting rid of it right away, it's also safer to wipe the hard drive before stashing the machine in a corner. Darik's Boot and Nuke is a tool designed for this purpose, and there are a variety of tutorials on how to use it across the web (including here).
Some full-disk encryption software has the ability to destroy the master key , rendering a hard drive's encrypted contents permanently incomprehensible. Since the key is a tiny amount of data and you can destroy it almost instantaneously, this represents a much faster alternative to overwriting with software like Darik's Boot and Nuke, which can be quite time-consuming for larger drives. However, this option is only feasible if the hard drive was always encrypted. If you weren't using full-disk encryption ahead of time, you'll need to overwrite the whole drive before getting rid of it.
If you’re selling or giving away an old computer with an SSD, then encrypting the drive before resetting the computer to factory defaults (instructions for Windows and Mac) is your best bet. Some SSD manufacturers may also provide “secure wiping” tools that you can operate from the computer’s BIOS (which stands for Basic Input Output System, is software stored on a memory chip on the motherboard which handles instruction such as booting. You can typically load the BIOS with keyboard shortcut during the bootup process), which can be a useful extra step.
Discarding CD- or DVD-ROMs
When it comes to CD- or DVD-ROMs, you should do the same thing you do with paper―shred them. There are inexpensive shredders that will chew them up. Never just toss a CD- or DVD-ROM in the garbage unless you're absolutely sure there's nothing sensitive on it. If you don’t have a shredder, break the disk into small pieces before disposing of it: though sophisticated forensic tools may still be able to retrieve data on it, this is far better than throwing an entire disk out intact.
How to Use BleachBit to Delete Files
On Windows and Linux computers with spinning disk drives, we suggest using BleachBit, an open-source secure deletion tool, to delete files. BleachBit can quickly and easily target individual files for secure deletion, or to implement periodic secure deletion policies. It is also possible to write custom file deletion instructions. It cannot work miracles, though, and as noted above, is only useful if you are storing the data on a spinning disk drive.
Secure deletion hasn’t been made available on macOS for a long time. Instead, we recommend encrypting your storage drive.
Install BleachBit on Windows
You can get BleachBit on Windows by downloading the installer from the BleachBit download page. Click the Windows option, then the BleachBit installer .exe link. 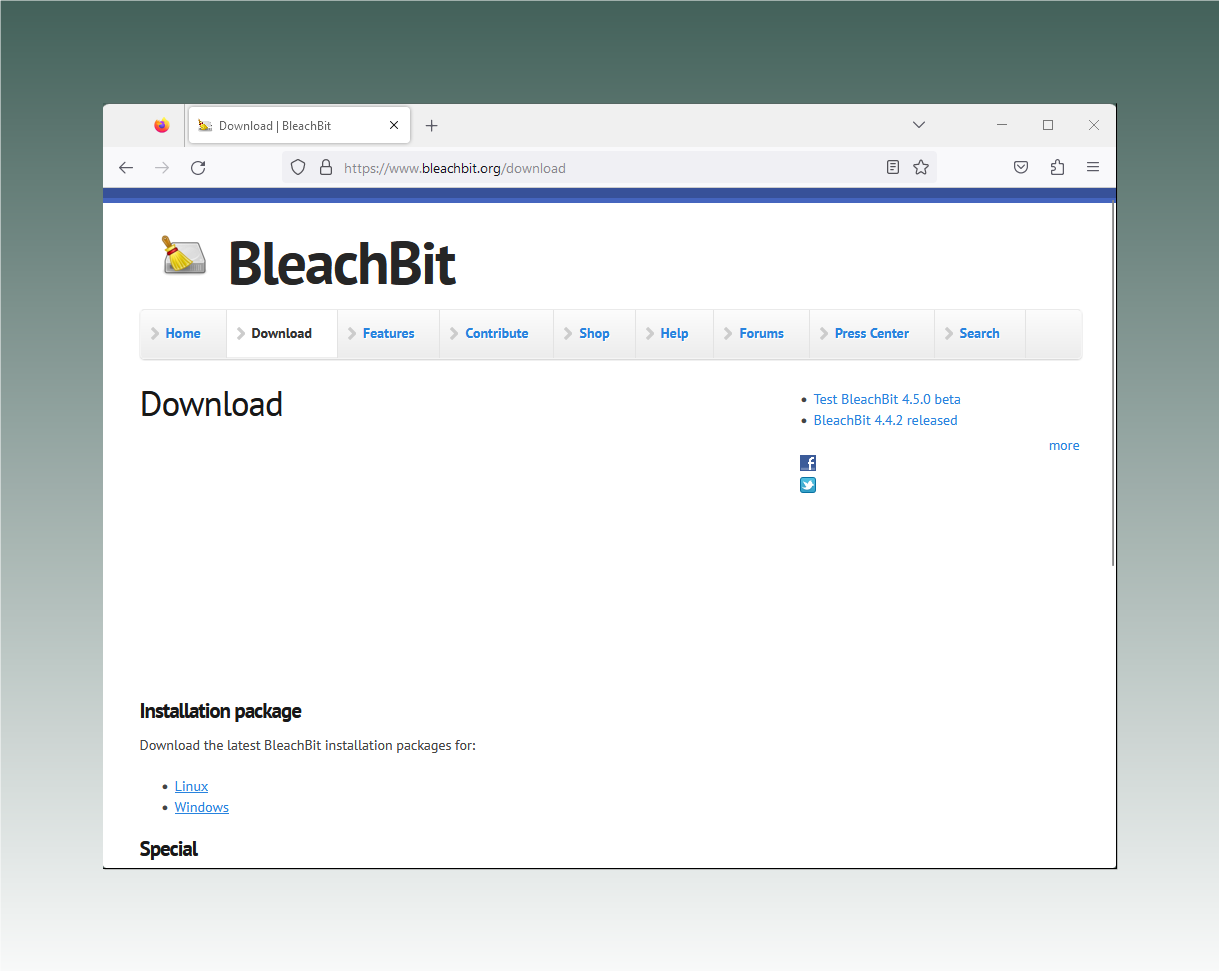
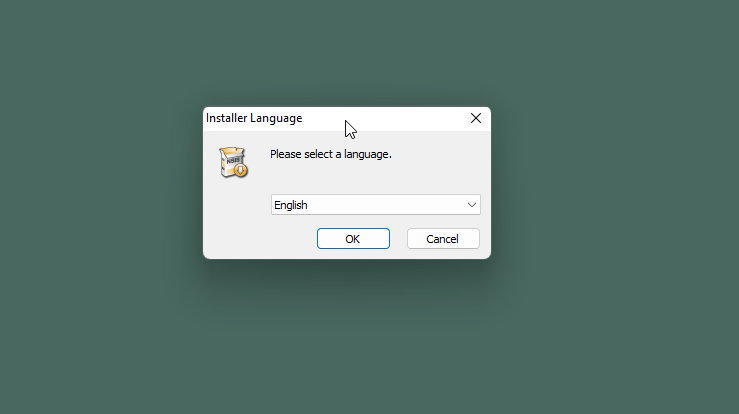
Once downloaded, double-click the installer file (usually located in your computer's "Downloads" folder) to run the installation program. A window will open asking you to select an installation language. Select the language you want and click the "OK" button.
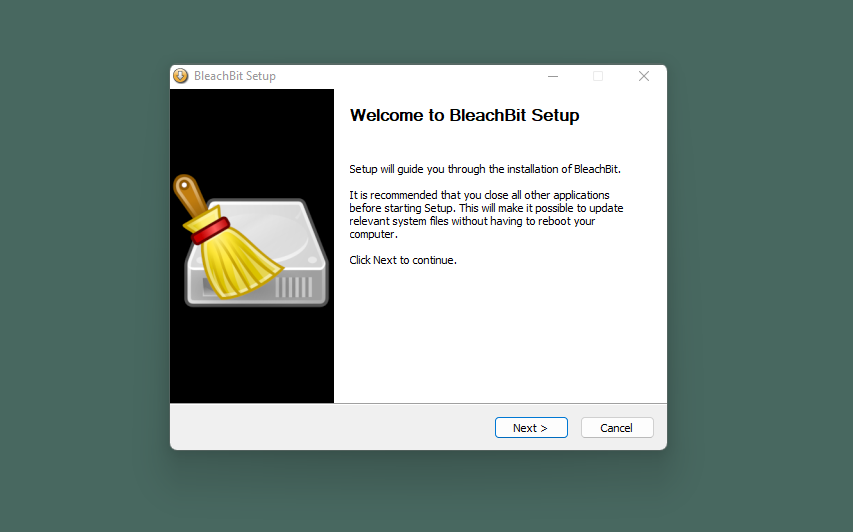
Next, you'll get a welcome screen. Click "Next" to continue.
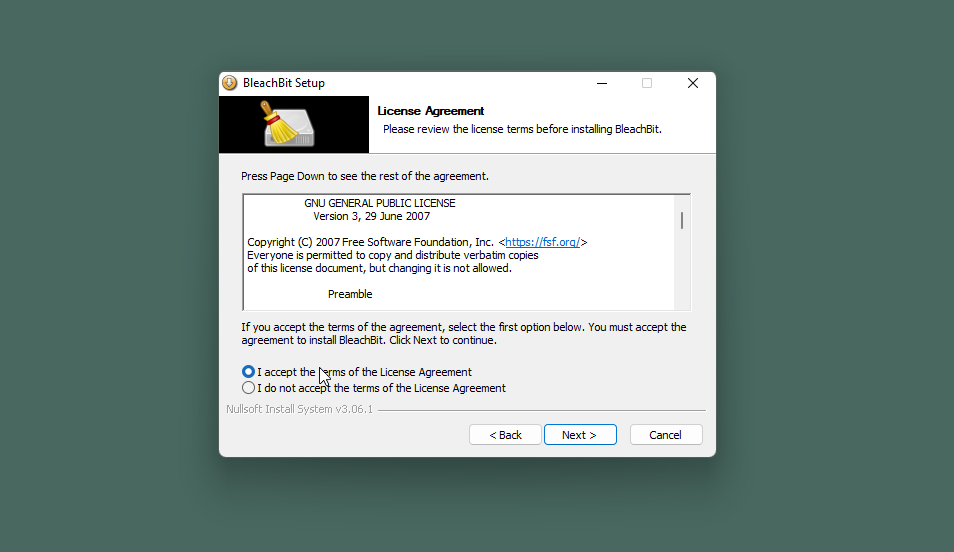
 The next window will show you the GNU General Public License. Click the "I accept the terms of the License Agreement" option and then click "Next."
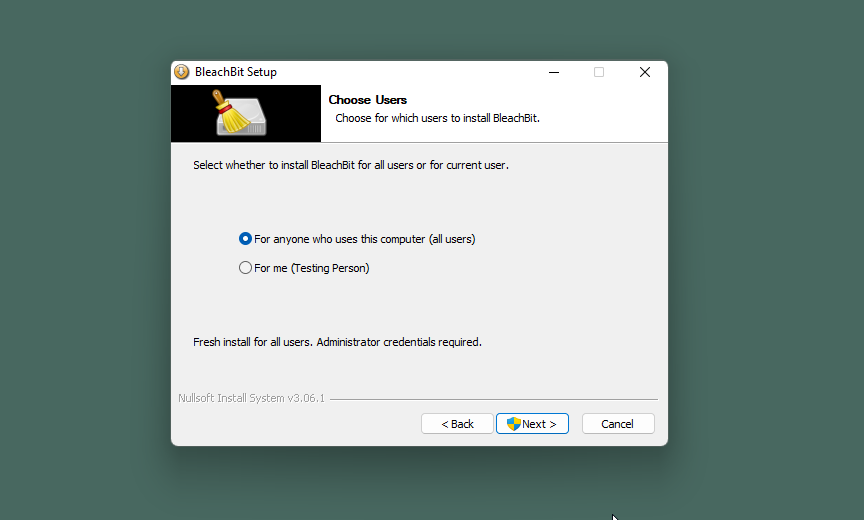
You're next asked if you want to install BleachBit for all users or just you. Unless you're sharing this computer with several people, either option is fine to choose.
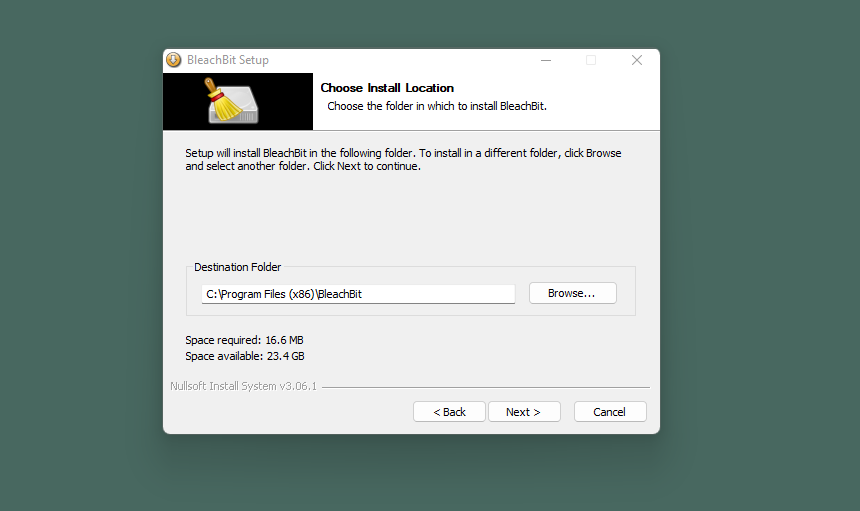
Now BleachBit will ask you to confirm where you want to install. Most people can leave this as the default folder. Click "Browse" to change the folder if you like, then "Next" when you're done.
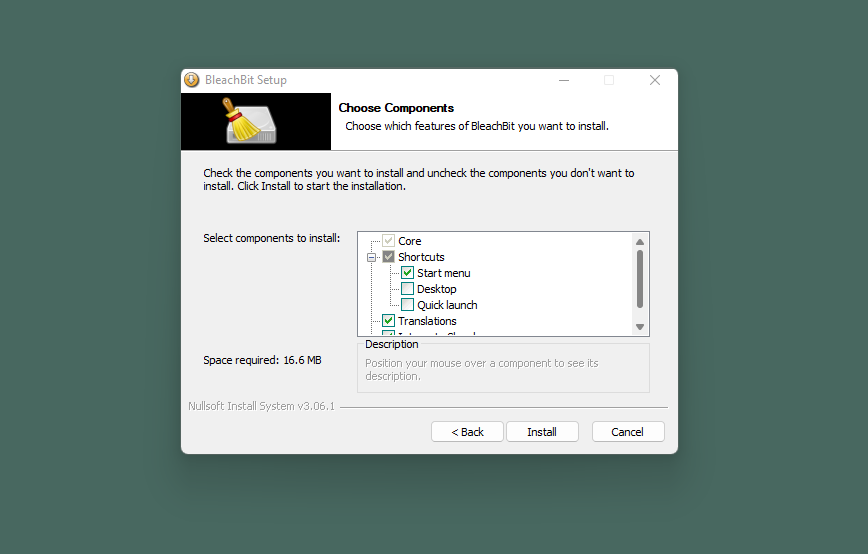
In the next window BleachBit shows some customization options. You may leave the options as they are, but we recommend removing the check mark from the "Desktop" option so BleachBit doesn't appear on your desktop. Click the "Install" button.
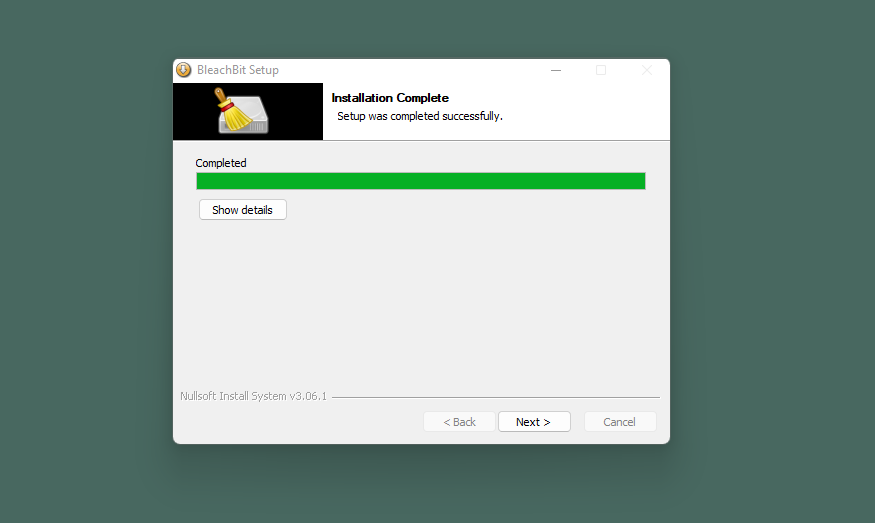
After a short installation process, the BleachBit installer shows a window telling you the installation is complete. Click the "Next" button.
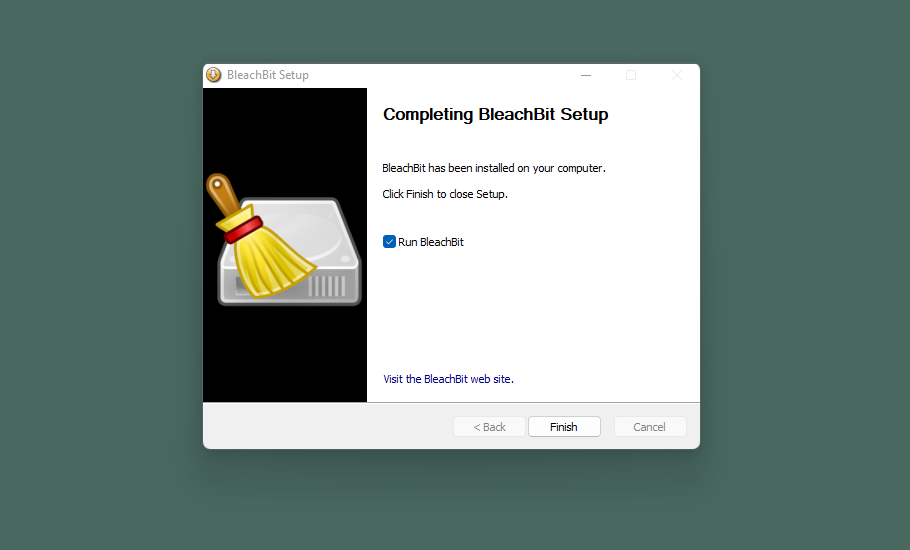
The last window in the installer asks whether you want to run BleachBit. Remove the checkmark from the "Run BleachBit" option if you don't want to open it right now, or leave it to open the program, then click the "Finish" button. Depending on the version of Windows you're using and its settings, when you first open BleachBit, you may see a pop-up asking if you want to allow the app to make changes to your device. Since BleachBit is a program that removes files, this permission is necessary for it to do its function, so click the "Yes" button.
Install BleachBit on Linux
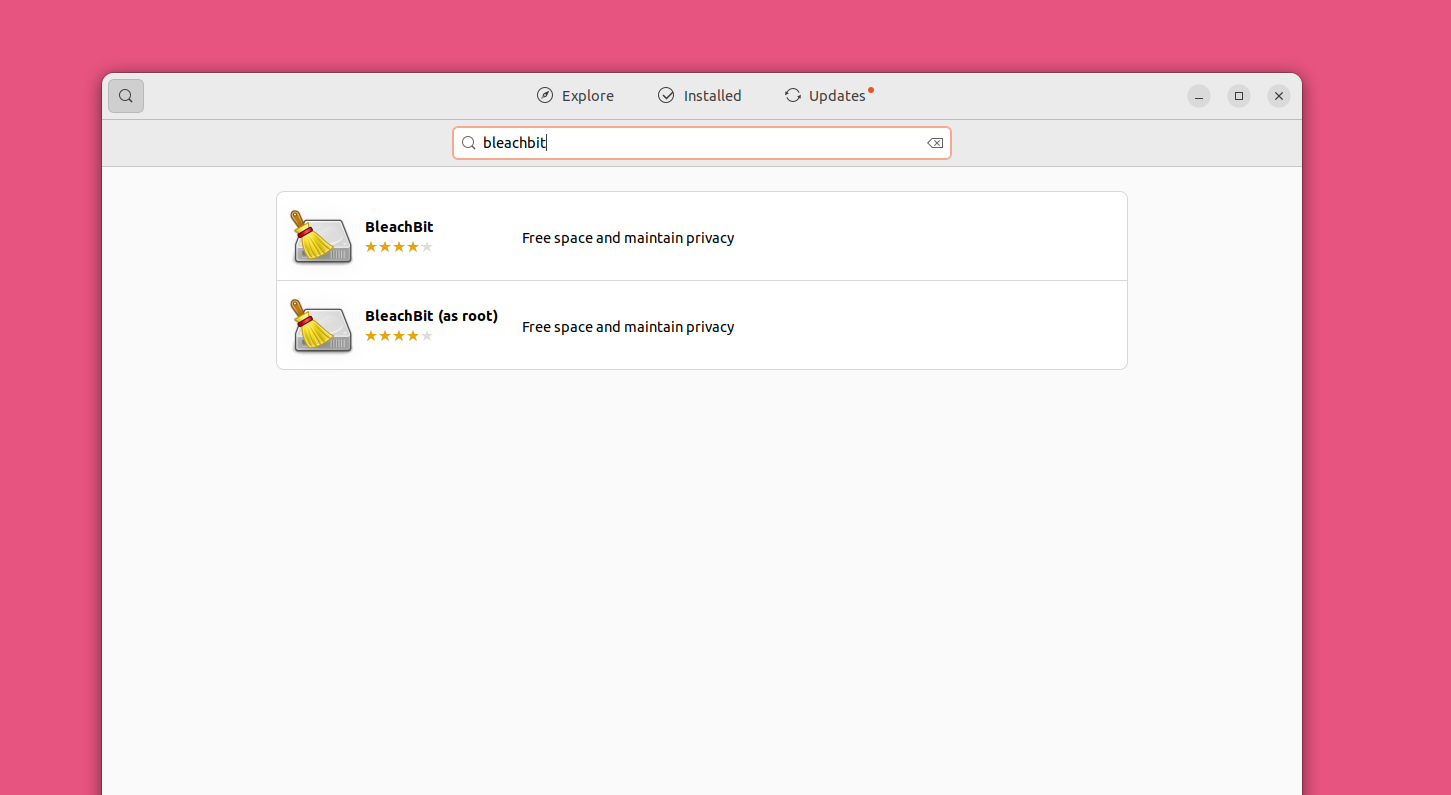
The easiest way to install BleachBit is through your distro of choice's software application (if you prefer to install it via the Terminal, head over to BleachBit's documentation for directions). In this case, we'll be using the Ubuntu Software app. Open the app, and click the magnifying glass icon in the top right corner, then type in "BleachBit" and tap the Enter key. You'll see two options, BleachBit and BleachBit (as root). Click the "BleachBit" option and then click "Install."
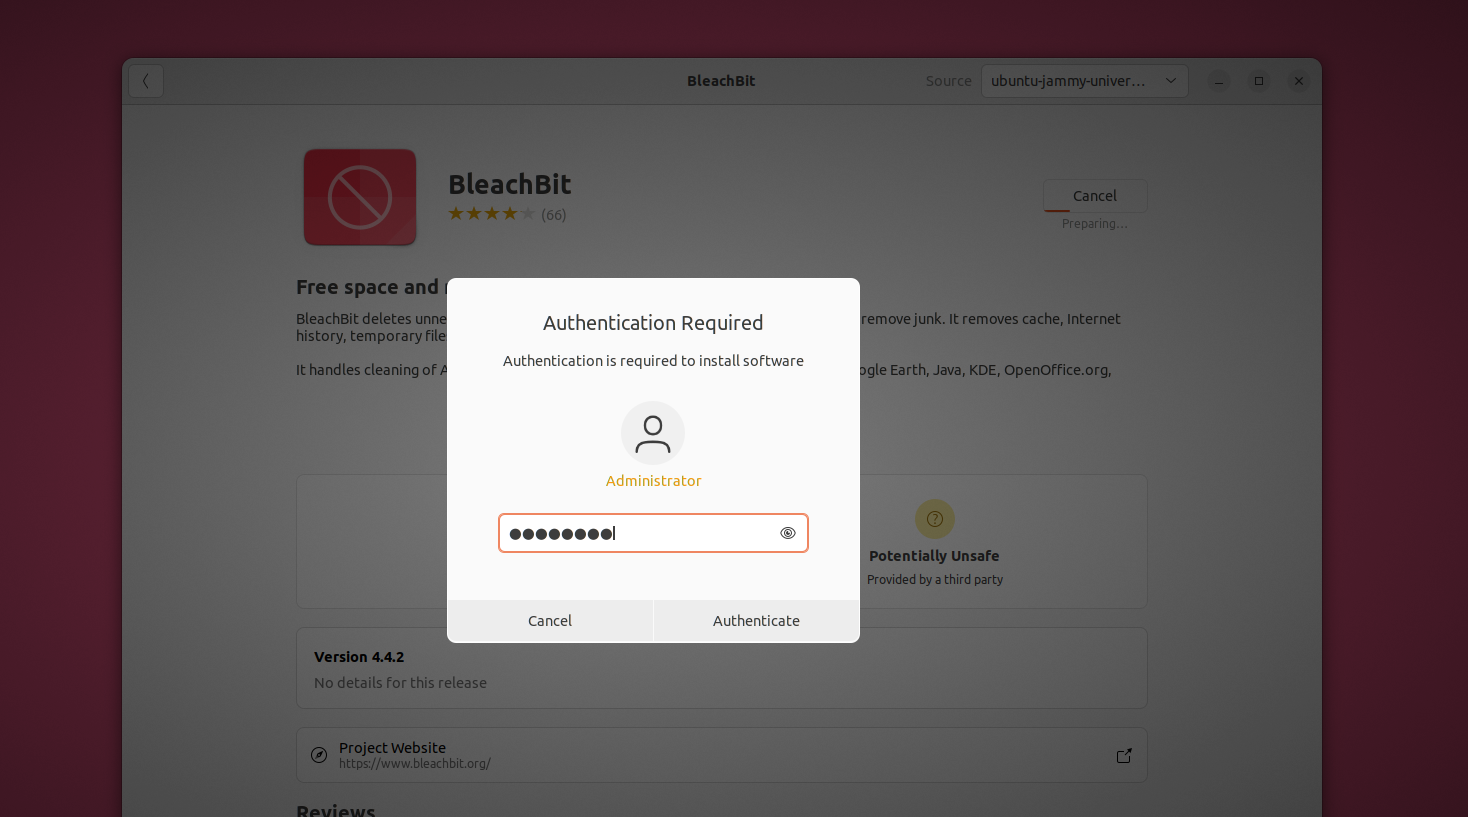
Ubuntu will next ask you for your password . Type that in and click "Authenticate" to start the installation process.
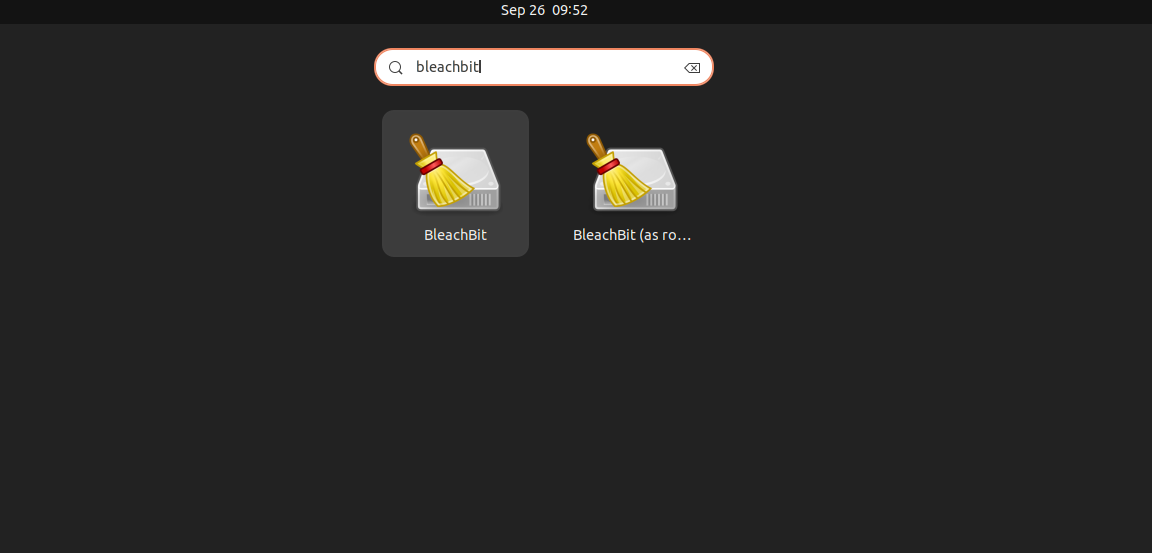
You can now open BleachBit from the applications menu in the bottom left. You can find the app manually or search for it.
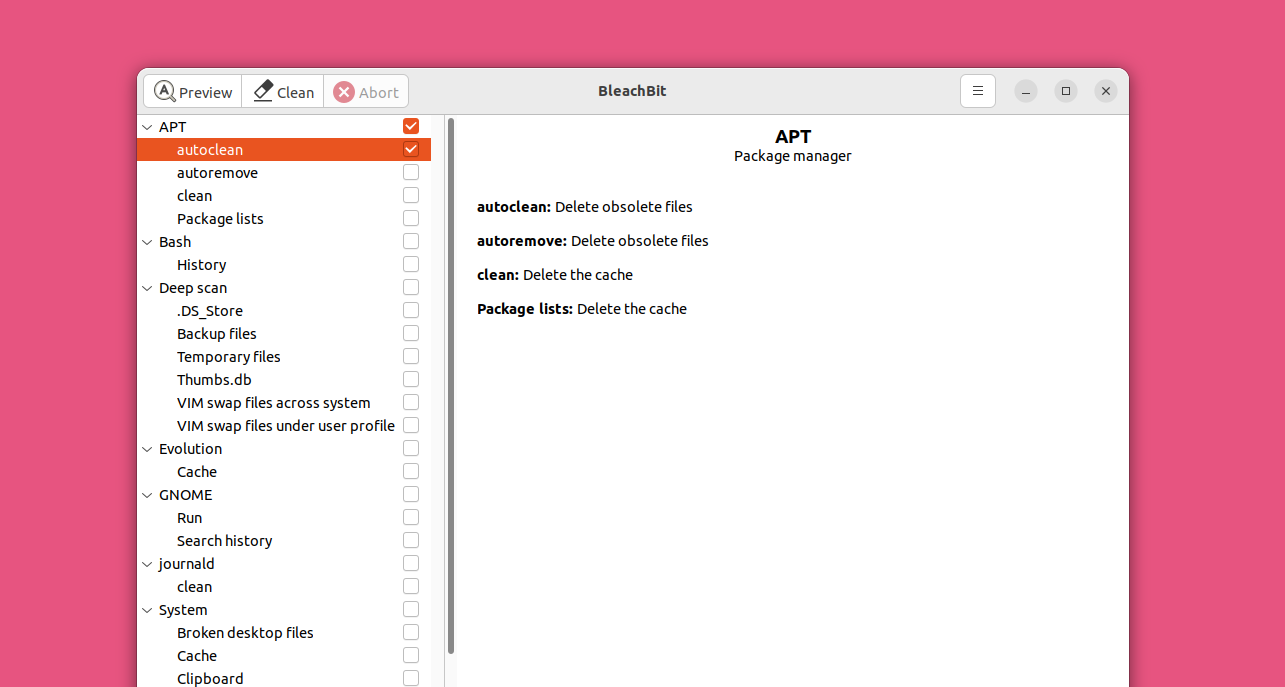
Once you open it, BleachBit on Linux looks like the Windows version. The main difference is that instead of opening the menu by clicking the BleachBit icon on the left, like in Windows, you'll click the three line "hamburger" menu on the right.
Using BleachBit
Once installed, BleachBit works the same on Windows as it does on Linux, so we've combined the instructions for both here. These screenshots are all from Windows 11, but we include directions for Linux in the rare cases where they differ.
How to Securely Delete a Folder or File
Click the Bleachbit icon (or the three-line hamburger menu on Linux) and select "Shred Files" or "Shred Folders," depending on which task you want to complete.

A window will open asking you to choose the folder or file you want to shred.

BleachBit will ask you to confirm whether you want to permanently delete the files you selected. Click the "Delete" button.

BleachBit shows you the files you deleted. When you delete a folder, BleachBit securely deletes each file in the folder, then securely deletes the folder.
Using Presets
BleachBit can wipe the traces of specific applications or operating system functions. For example, it can wipe everything associated with the Google Chrome browser, including temporary files, browsing history, and passwords. Keep in mind in some cases, like Chrome, this removes everything except for the program itself, so only use this feature if you're certain that's what you want to do. Read the details about each preset closely before using it, and click the "Preview" button to get a closer look at exactly what BleachBit will delete. If you're not sure what something is or what it does, like some of the System settings, do not shred those files.
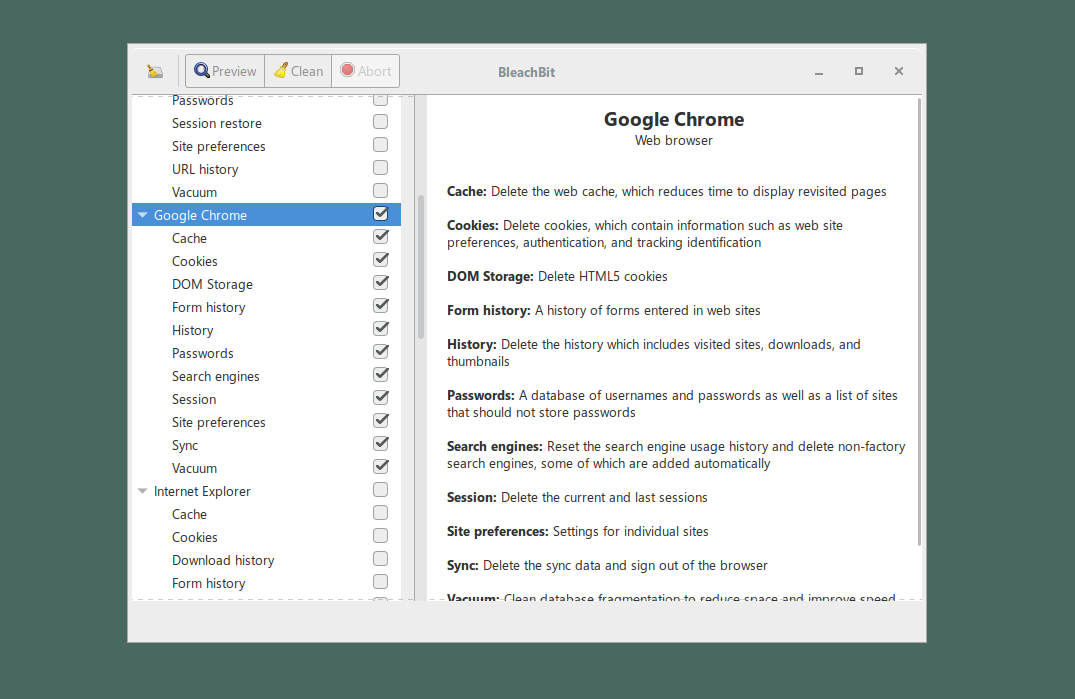
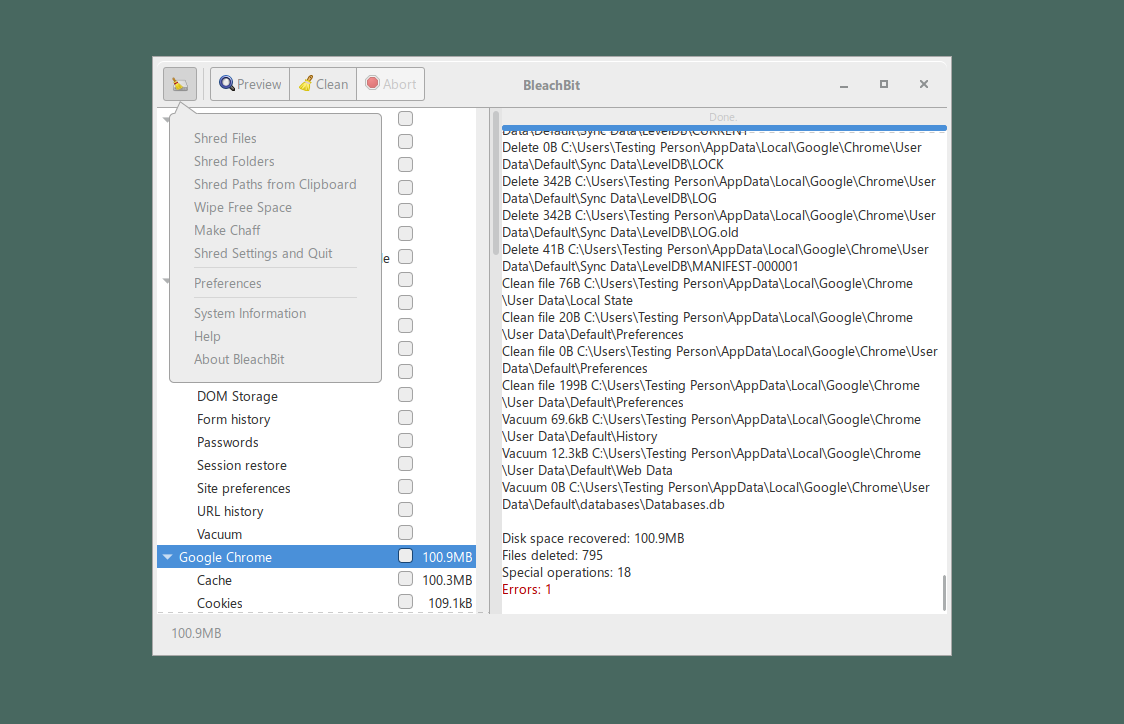
With that in mind, let's use Google Chrome as an example of how this works. From the main BleachBit screen, scroll down to Google Chrome and click the checkbox next to it to select everything. On the right side of the screen you're shown more details. If there's any sections you do not want to delete, you can uncheck that box.
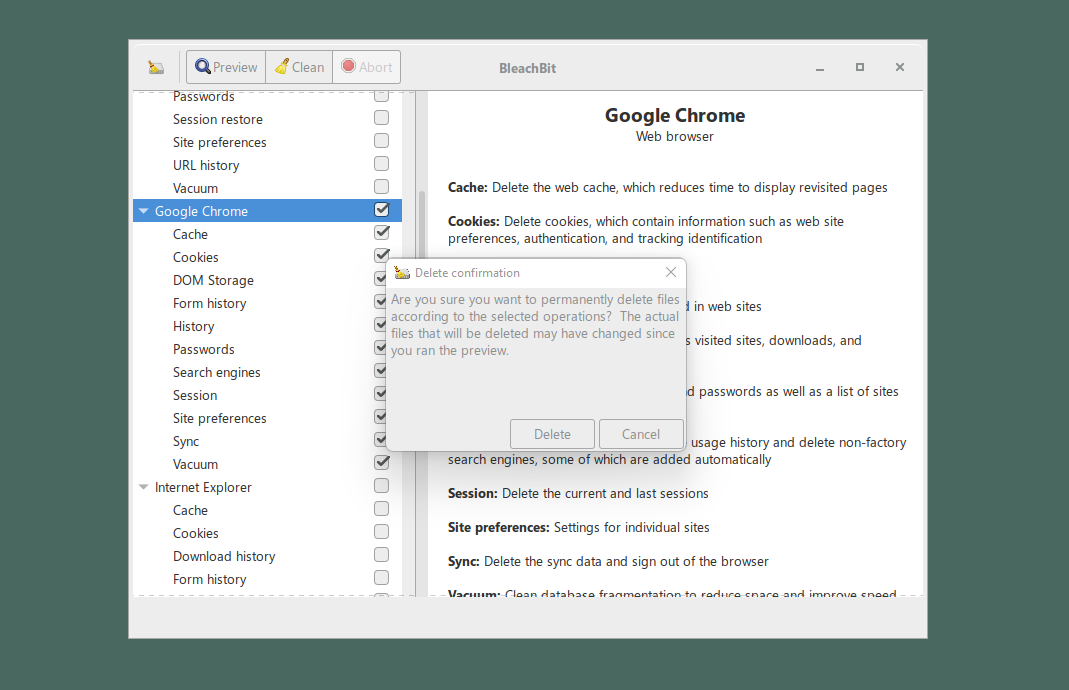
When you're satisfied that you're comfortable deleting these files, click "Clean." You're then asked to confirm that you want to delete everything. Click "Delete" when you're ready to do so.
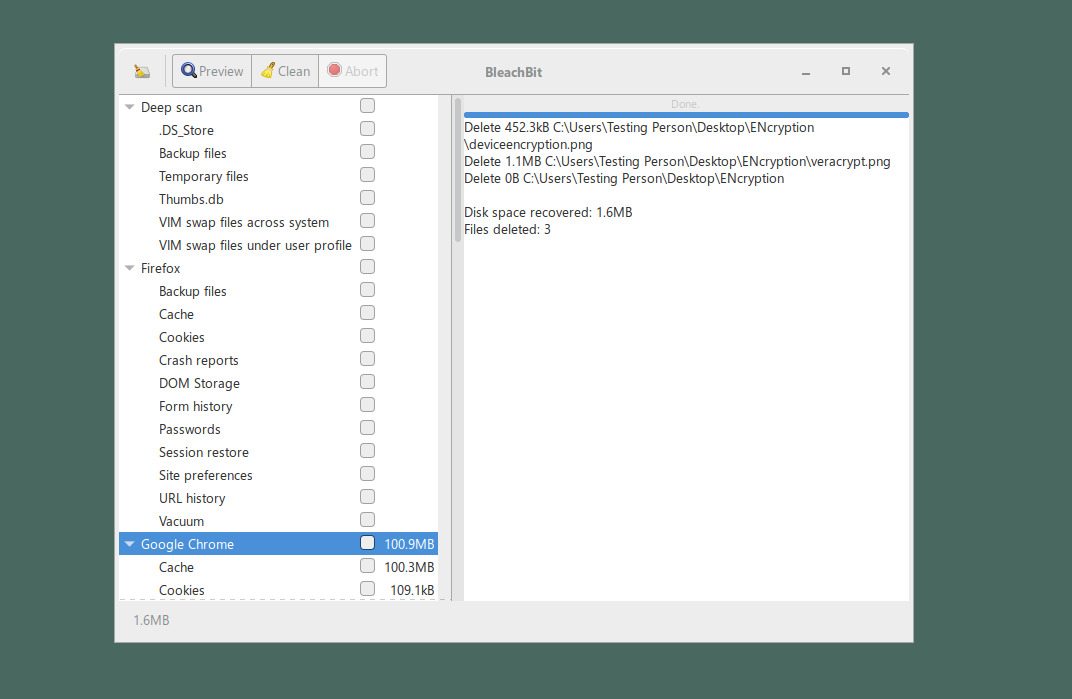
BleachBit will now clean up certain files and show you the progress.
BleachBit has other features worth noting, including "Wipe free space," which overwrites empty parts of the hard drive with random data, which helps remove any parts of data still remaining from deleted files. Wiping free space overwrites the supposedly empty parts with random data. Wiping free space can take a lot of time, depending on how much spare capacity your drive has. For more specific details about features, check out BleachBit's documentation.
A Warning About the Limitations of Secure Deletion Tools
The advice above only deletes files on the disk of the computer you’re using. None of the tools above will delete backups stored on another disk or USB drive, on an email server, in the cloud, or sent to your contacts. In order to securely delete a file, you must delete every copy of that file, everywhere. Additionally, once a file is in the cloud (like Dropbox or some other file-sharing service) there’s usually no way to guarantee that it will be deleted forever.
Unfortunately, there’s also another limitation to secure deletion tools. Even if you follow the advice above and you’ve deleted all copies of a file, there is a chance that certain traces of deleted files may persist on your computer, not because the files themselves haven't been properly deleted, but because some part of the operating system or some other program keeps a record of them.
For example, Microsoft Office may retain a reference to the name of a file in the “Recent Documents” menu, even if you deleted the file (Office might sometimes even keep temporary files containing the contents of the file). Or a user's shell history file may contain commands that include the file's name, even though the file has been securely deleted. In practice, there may be dozens of programs that behave like this.
It's hard to know how to respond to this problem. It is safe to assume that even if a file has been securely deleted, its name will probably continue to exist for some time on your computer. Overwriting the entire disk is the only way to be 100% sure the name is gone. Searching the disk will tell you if the data is present in plaintext, but it won't tell you if a program has compressed or otherwise coded references to it. Also, be careful that the search itself does not leave a record! The probability that the file's contents may persist is lower, but not impossible.
Overwriting the entire disk and installing a fresh operating system is the only way to be 100% certain that records of a file get erased.